· By Brandon Boyd
The Crawl Space Encapsulation Process Step by Step
Exactly what happens during a Tennessee crawl space encapsulation: every stage from initial inspection through final humidity verification. What you should see, ask about, and expect.
A complete Tennessee crawl space encapsulation isn’t a single procedure. It’s a 7-stage process that unfolds over 2 to 4 days. Knowing what to expect at each stage helps you evaluate contractor quality, ask the right questions, and recognize when something is being skipped.
Stage 1: Free inspection and quote
Time: 45 to 90 minutes on site
The first contractor visit. A qualified inspector enters your crawl space, photographs current conditions, measures square footage and depth, takes humidity readings, identifies mold or water issues, and assesses the existing barrier (if any).
What you should see:
- The inspector actually goes into the crawl space, not just opens the door
- They take pictures you can keep
- They measure: square footage, depth, current humidity (with a hygrometer)
- They check the band joist, the subfloor, the joists themselves, and any insulation
- They look at foundation walls for cracks, moisture, or seepage
- They look at the perimeter for water entry sources
- They walk you through what they saw, in plain language
What you should leave the visit with:
- A written quote with itemized scope (not a verbal estimate)
- Photos of current conditions
- A clear timeline for the work
- A specific warranty document
What’s a red flag:
- An “inspector” who quotes without entering the crawl space
- A quote that’s just one number with no itemization
- High-pressure “sign today for the discount” tactics
- Refusal to provide written warranty terms
Stage 2: Cleanout and prep
Time: 4 to 12 hours on Day 1
Once the project is scheduled, the contractor crew arrives and starts with the cleanout. This is the dirty, unglamorous, essential first step.
Steps:
- Remove all old fiberglass insulation between floor joists
- Remove any failed previous vapor barrier
- Bag and remove debris (construction leftovers, animal nesting, fallen ductwork, etc.)
- Pump out any standing water
- HEPA-vacuum exposed surfaces
Variation: If mold is present, this stage extends to include certified remediation (Stage 2.5 below).
What you should see:
- A clean crawl space after cleanout, photographed for your records
- Debris bagged and removed from your property
- No old materials left in piles
What’s a red flag:
- “We’ll just barrier over the existing insulation” — wrong, the old fiberglass is wet and moldy and needs to come out
- Debris left behind under the new barrier
Stage 2.5: Mold remediation (if needed)
Time: 4 to 16 additional hours
If the inspection found mold on framing, this stage runs after cleanout and before vapor barrier install. Must be done by a certified team with proper containment.
Steps:
- Establish negative-pressure containment at the crawl space access
- Personnel in full PPE (Tyvek suits, P100 respirators)
- Apply antimicrobial treatment to all affected surfaces
- HEPA-vacuum affected wood after treatment
- Apply mold-resistant encapsulating sealer where needed
What you should see:
- Documented certification of the remediation team (IICRC, NORMI, or equivalent)
- Before and after photos of treated surfaces
- A remediation report with antimicrobial product information
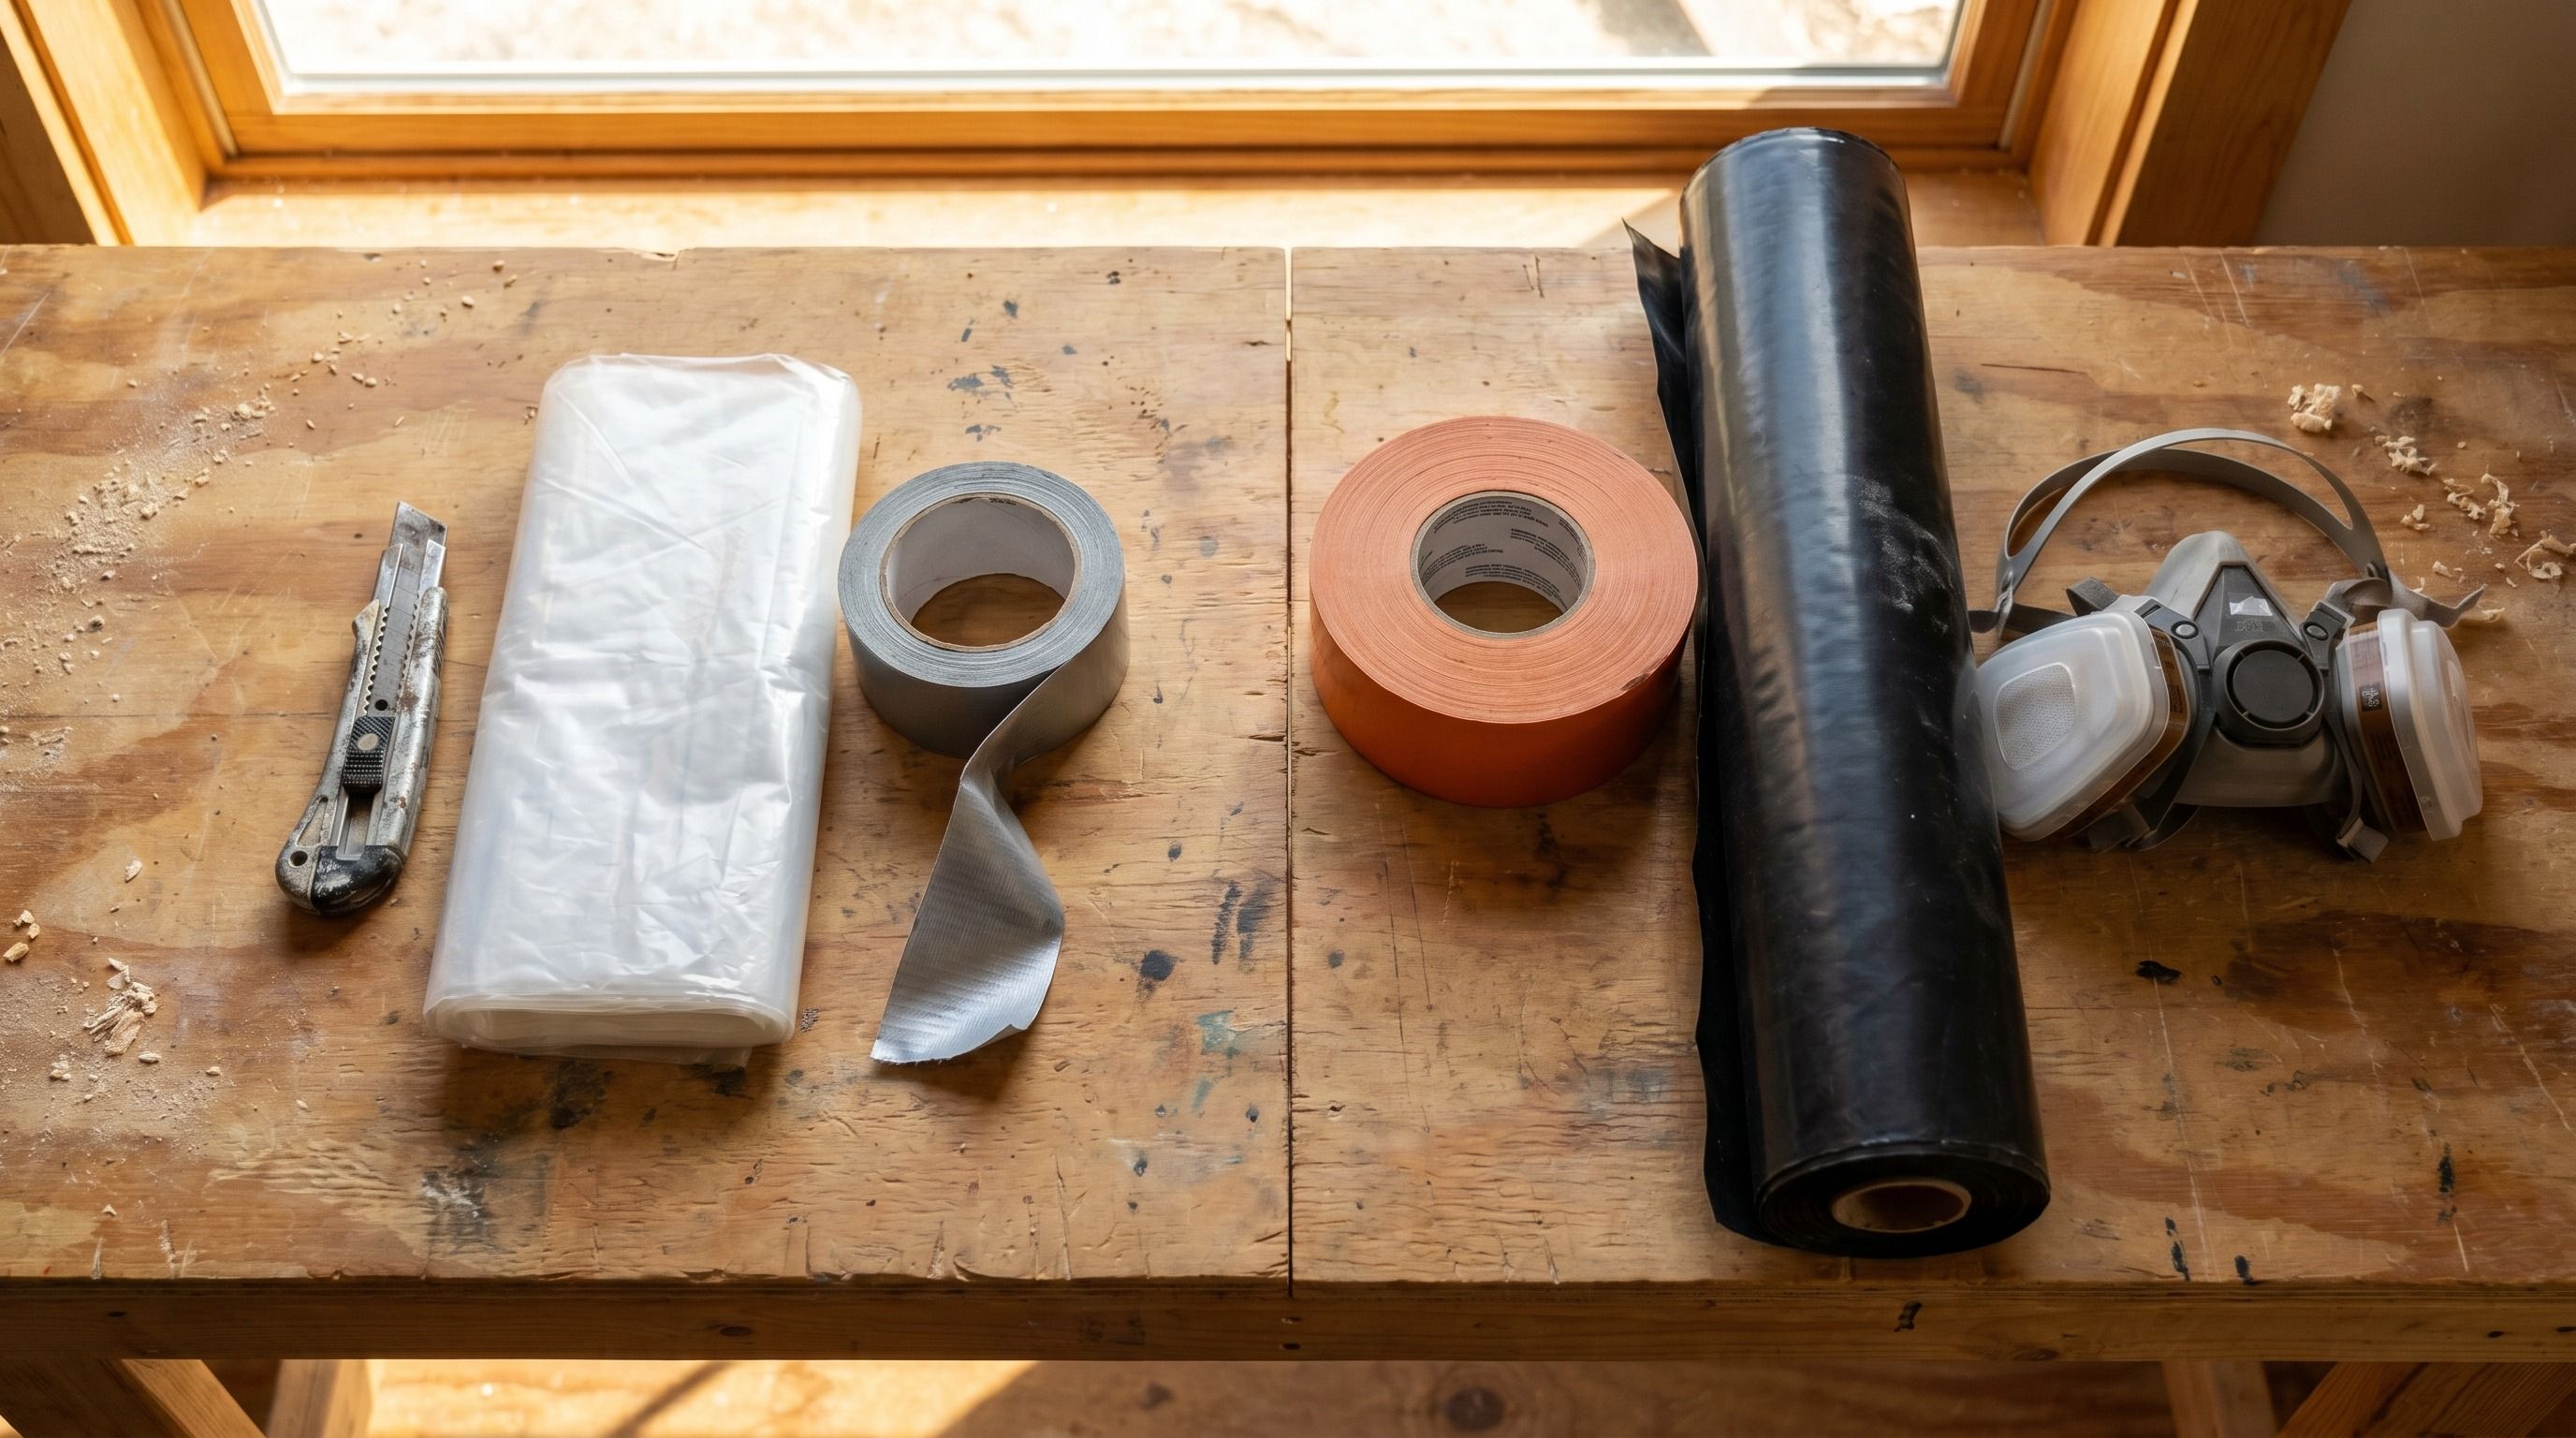
Stage 3: Vapor barrier installation
Time: 6 to 16 hours (the bulk of Day 2)
The foundational layer. This is what most homeowners associate with “crawl space encapsulation,” though it’s only one part of the system.
Steps:
- Roll out 12 to 20 mil reinforced vapor barrier across the entire floor
- Overlap all seams by 12+ inches
- Tape every seam with commercial seam tape
- Extend the barrier up the foundation walls to within 3 inches of the top
- Mechanically fasten the wall portion with termination strips and concrete anchors
- Seal every plumbing penetration with butyl tape
- Seal every support post and structural penetration
- Seal around HVAC ducts and electrical conduits
What you should see:
- Crisp clean white surface across the entire crawl space
- Visible seam tape (not the bare seam)
- Mechanical fasteners visible along the top of the wall sections
- No exposed dirt anywhere
What’s a red flag:
- Barrier that only covers the floor and not the walls
- Loose, untaped, or visibly gapped seams
- Penetrations that are still bare
- “Adhesive only” wall attachment
Stage 4: Drainage system (if needed)
Time: 4 to 10 hours
If your crawl space has water intrusion history, drainage is installed before the barrier seals over the area.
Steps:
- Identify the lowest point of the crawl space floor
- Excavate and set a sealed sump basin
- Install primary submersible pump
- Install battery backup pump and 8 to 12 hour deep-cycle battery
- Run rigid discharge piping out of the crawl space, at least 10 feet from foundation
- Test the system with simulated water flow
What you should see:
- Sealed basin (not open)
- Both primary and backup pumps tested
- Discharge line that exits the crawl space cleanly and routes far enough from foundation
- A check valve on the discharge to prevent backflow
Stage 5: Foundation vent and access door sealing
Time: 2 to 4 hours
Closing off the original vents and upgrading the crawl space access.
Steps:
- Remove existing foundation vent screens
- Install insulated foundation vent covers from inside, sealed and caulked from outside
- Replace the original crawl space access door (often a wood panel) with a sealed insulated unit
- Verify air-tight seal at the access
What you should see:
- All foundation vents covered, both inside and outside the home
- A new, properly sealed access door (often metal or insulated composite)
- No daylight visible from inside the sealed crawl space
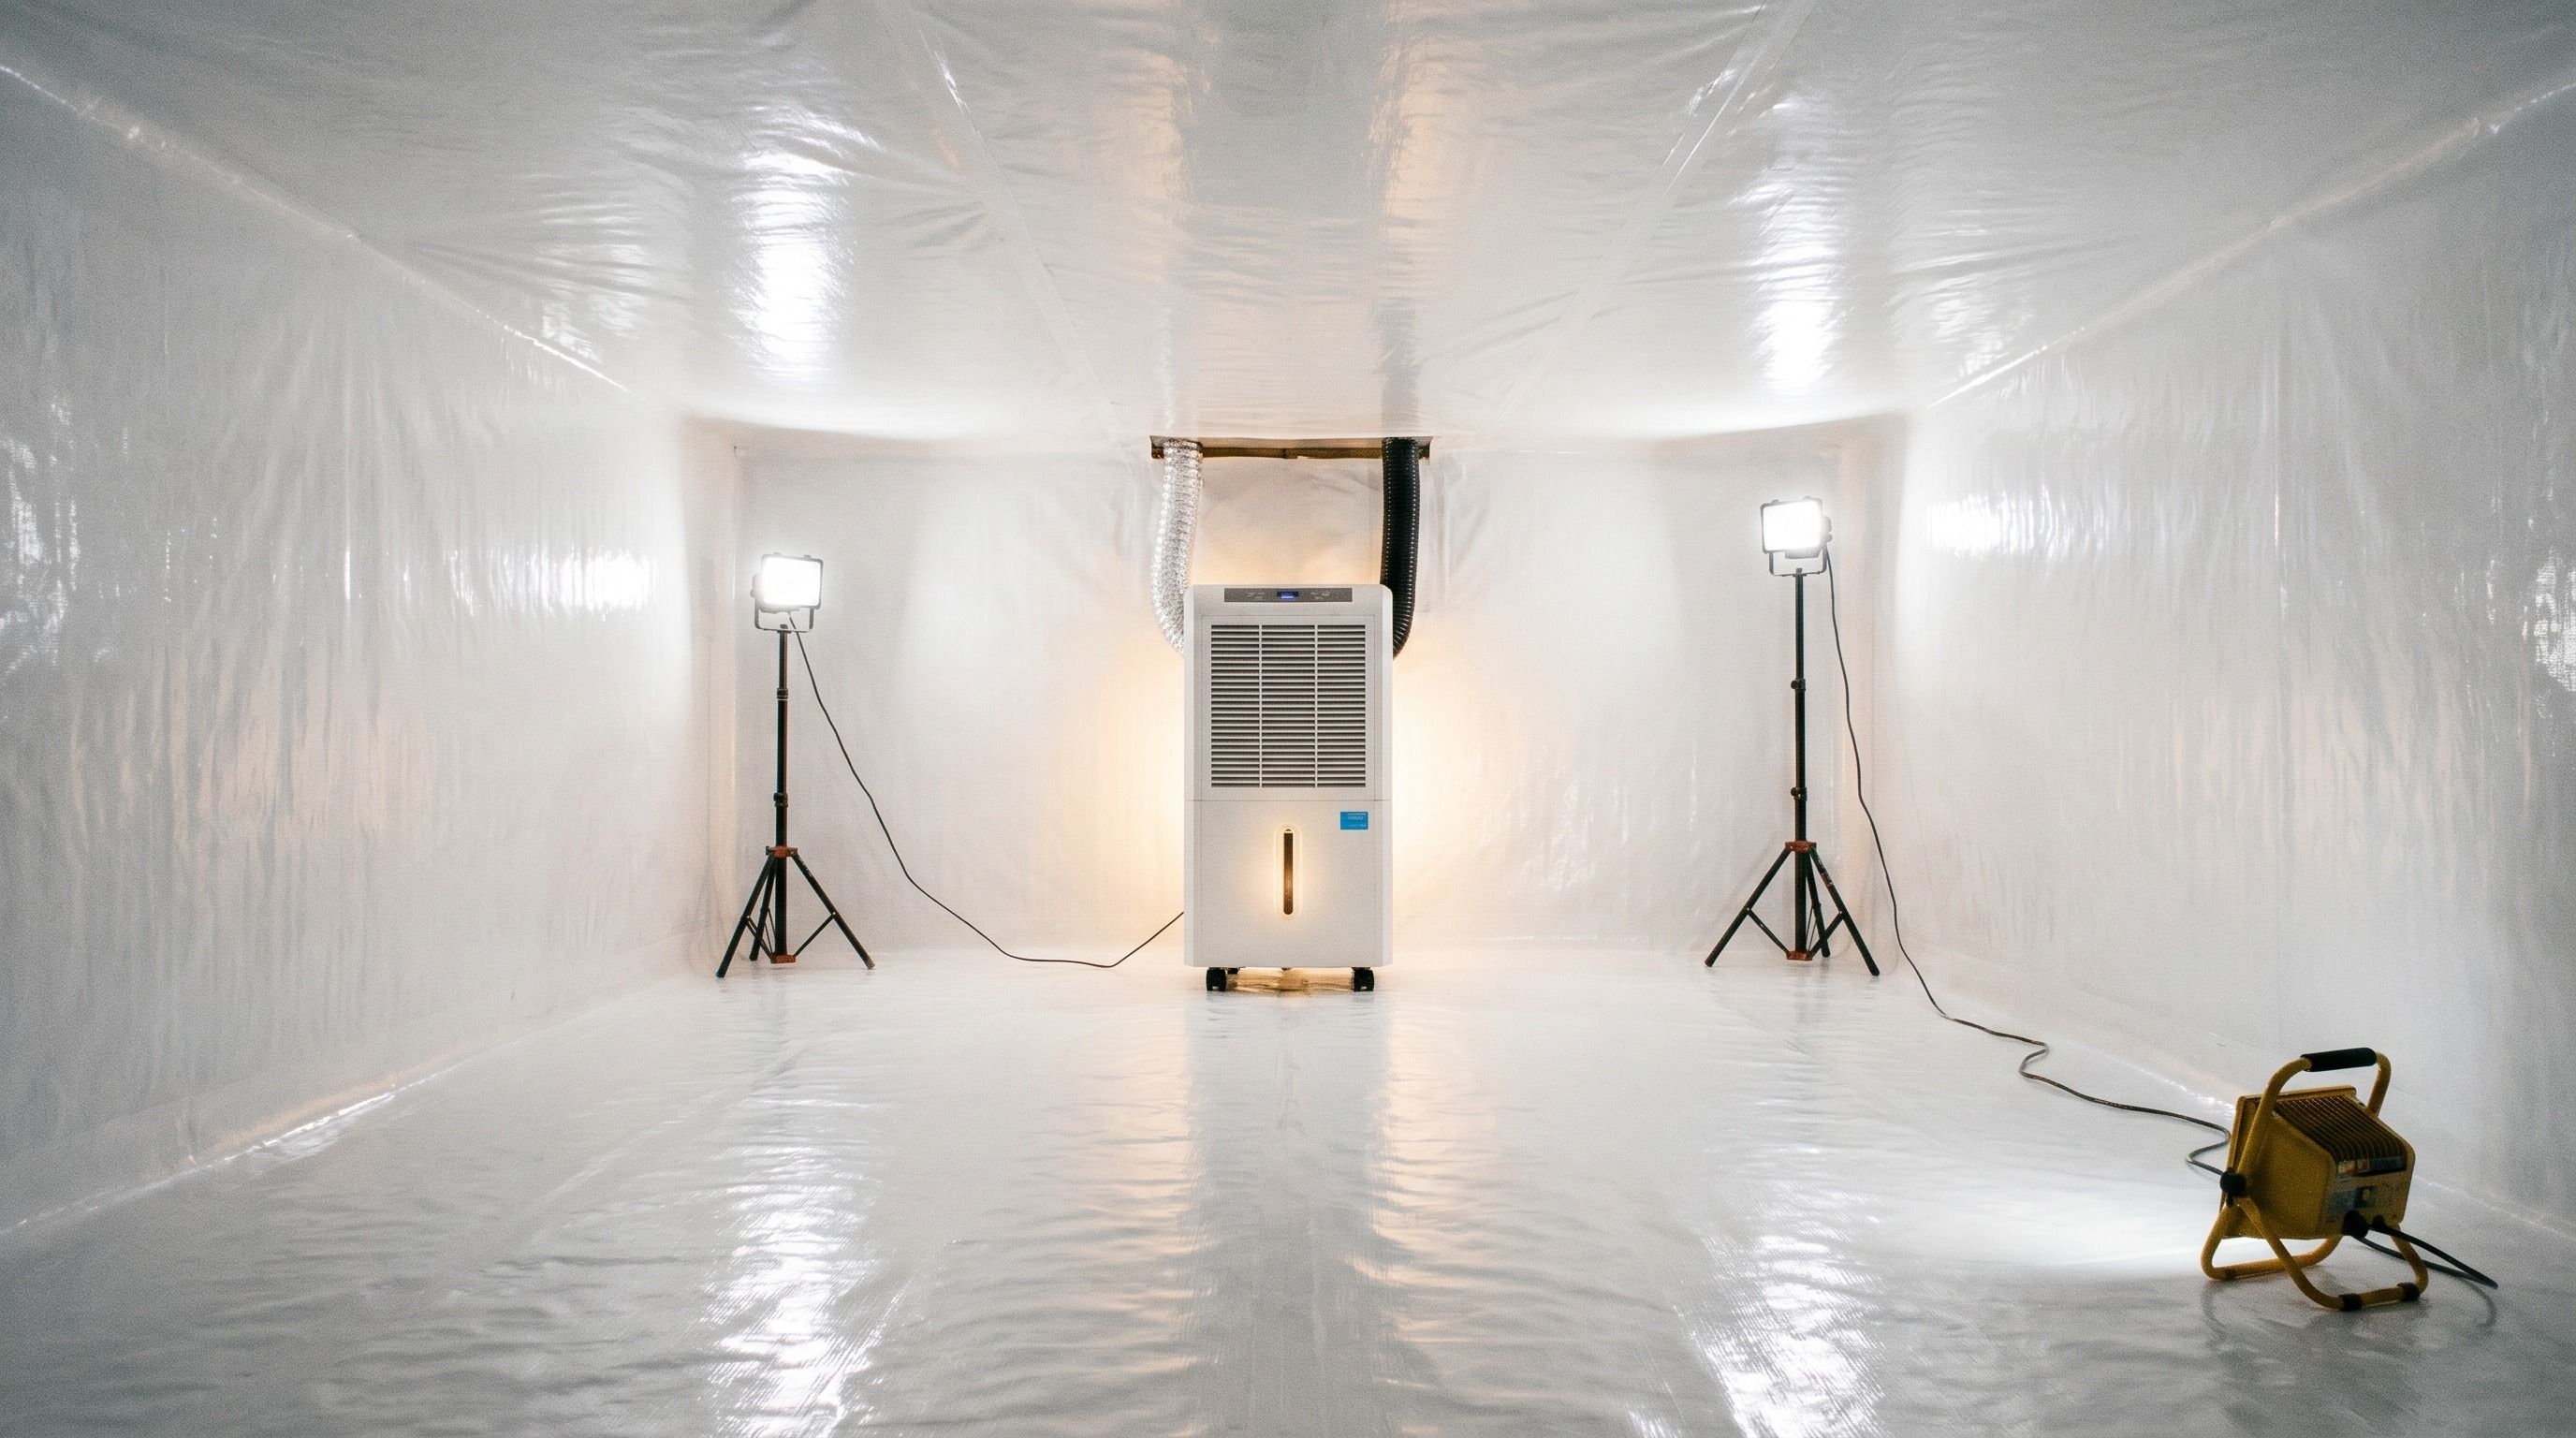
Stage 6: Dehumidifier installation
Time: 3 to 6 hours
The active humidity control. The component that actually keeps the crawl space dry.
Steps:
- Mount the dehumidifier centrally (hung from joists or on a stable platform)
- Connect to a dedicated electrical circuit (usually pulled by a licensed electrician)
- Route the condensate drain to a sump basin, exterior drain, or condensate pump
- Set the humidistat to 55%
- Verify operation and confirm the unit cycles properly
What you should see:
- A commercial-rated unit (not a consumer dehumidifier), typically 70 to 130 pint per day capacity
- Dedicated electrical circuit (a brand new circuit, not piggybacked)
- Drainage routed to a permanent destination (no condensate buckets)
- Documentation of the unit’s warranty (5+ years on commercial units)
What’s a red flag:
- A consumer-grade dehumidifier with a condensate bucket
- Plugged into an extension cord or existing outlet without dedicated circuit
- A unit visibly too small for the crawl space size
Stage 7: Verification
Time: 30 to 60 minutes, 24 to 72 hours after install
The follow-up visit that confirms the system actually works.
Steps:
- Contractor returns 24 to 72 hours after install
- Measures humidity at multiple points in the crawl space
- Verifies dehumidifier is running on a normal duty cycle (not 100%)
- Inspects all seams for any separation
- Walks the homeowner through final operation
- Provides warranty paperwork
What you should see:
- Humidity below 60% (target is 55%, threshold of acceptable is 60%)
- Dehumidifier cycling on and off appropriately
- All seams intact
- Final photos for your records
This is the stage that distinguishes the professional install from a DIY job. Verification is what proves the system actually performs.
Total timeline summary
For a typical 1,800 to 2,500 square foot Tennessee home:
- Day 0 (no install yet): Free inspection
- Day 1: Cleanout (4-8 hrs) + remediation if needed (4-8 hrs)
- Day 2: Vapor barrier install (6-12 hrs)
- Day 3: Drainage (if needed), vent sealing, dehumidifier install (8-12 hrs)
- Day 4: Verification visit (1 hr)
For straightforward projects without mold or water issues, this compresses to 2 to 3 days total.
Questions to ask at each stage
- At inspection: “What’s your specific recommendation, and why? What’s the alternative?”
- At cleanout: “Will you remove all the old fiberglass? What about the band joist?”
- At vapor barrier: “How are you attaching the wall portion? What mil barrier are you using?”
- At dehumidifier: “What’s the rated capacity? What’s the warranty? What’s the dedicated circuit setup?”
- At verification: “What humidity reading are you getting now? What’s the long-term expected range?”
A contractor who answers these confidently and specifically is doing the work right.
The end state
A successfully encapsulated Tennessee crawl space stays at 45 to 55% humidity year-round. The wood framing dries to 10 to 13% moisture content (well below mold growth threshold). Energy bills drop 10 to 18%. The musty smell upstairs is gone within days. The space is clean enough to use for storage. The system runs unattended for 8 to 12 years before any component needs replacement.
If your Tennessee crawl space is overdue for this process, request a free inspection through the form on this page.