· By Brandon Boyd
DIY vs Professional Crawl Space Encapsulation — Honest Assessment
Can you DIY crawl space encapsulation in Tennessee? What the real material costs are, what tools you'd need, what most DIYers get wrong, and when DIY actually makes sense.
Can you DIY crawl space encapsulation? Yes. Should you? Usually not, and it’s worth understanding exactly why before deciding. Here’s the honest tradeoff for Tennessee homeowners considering the DIY route.
Material cost reality
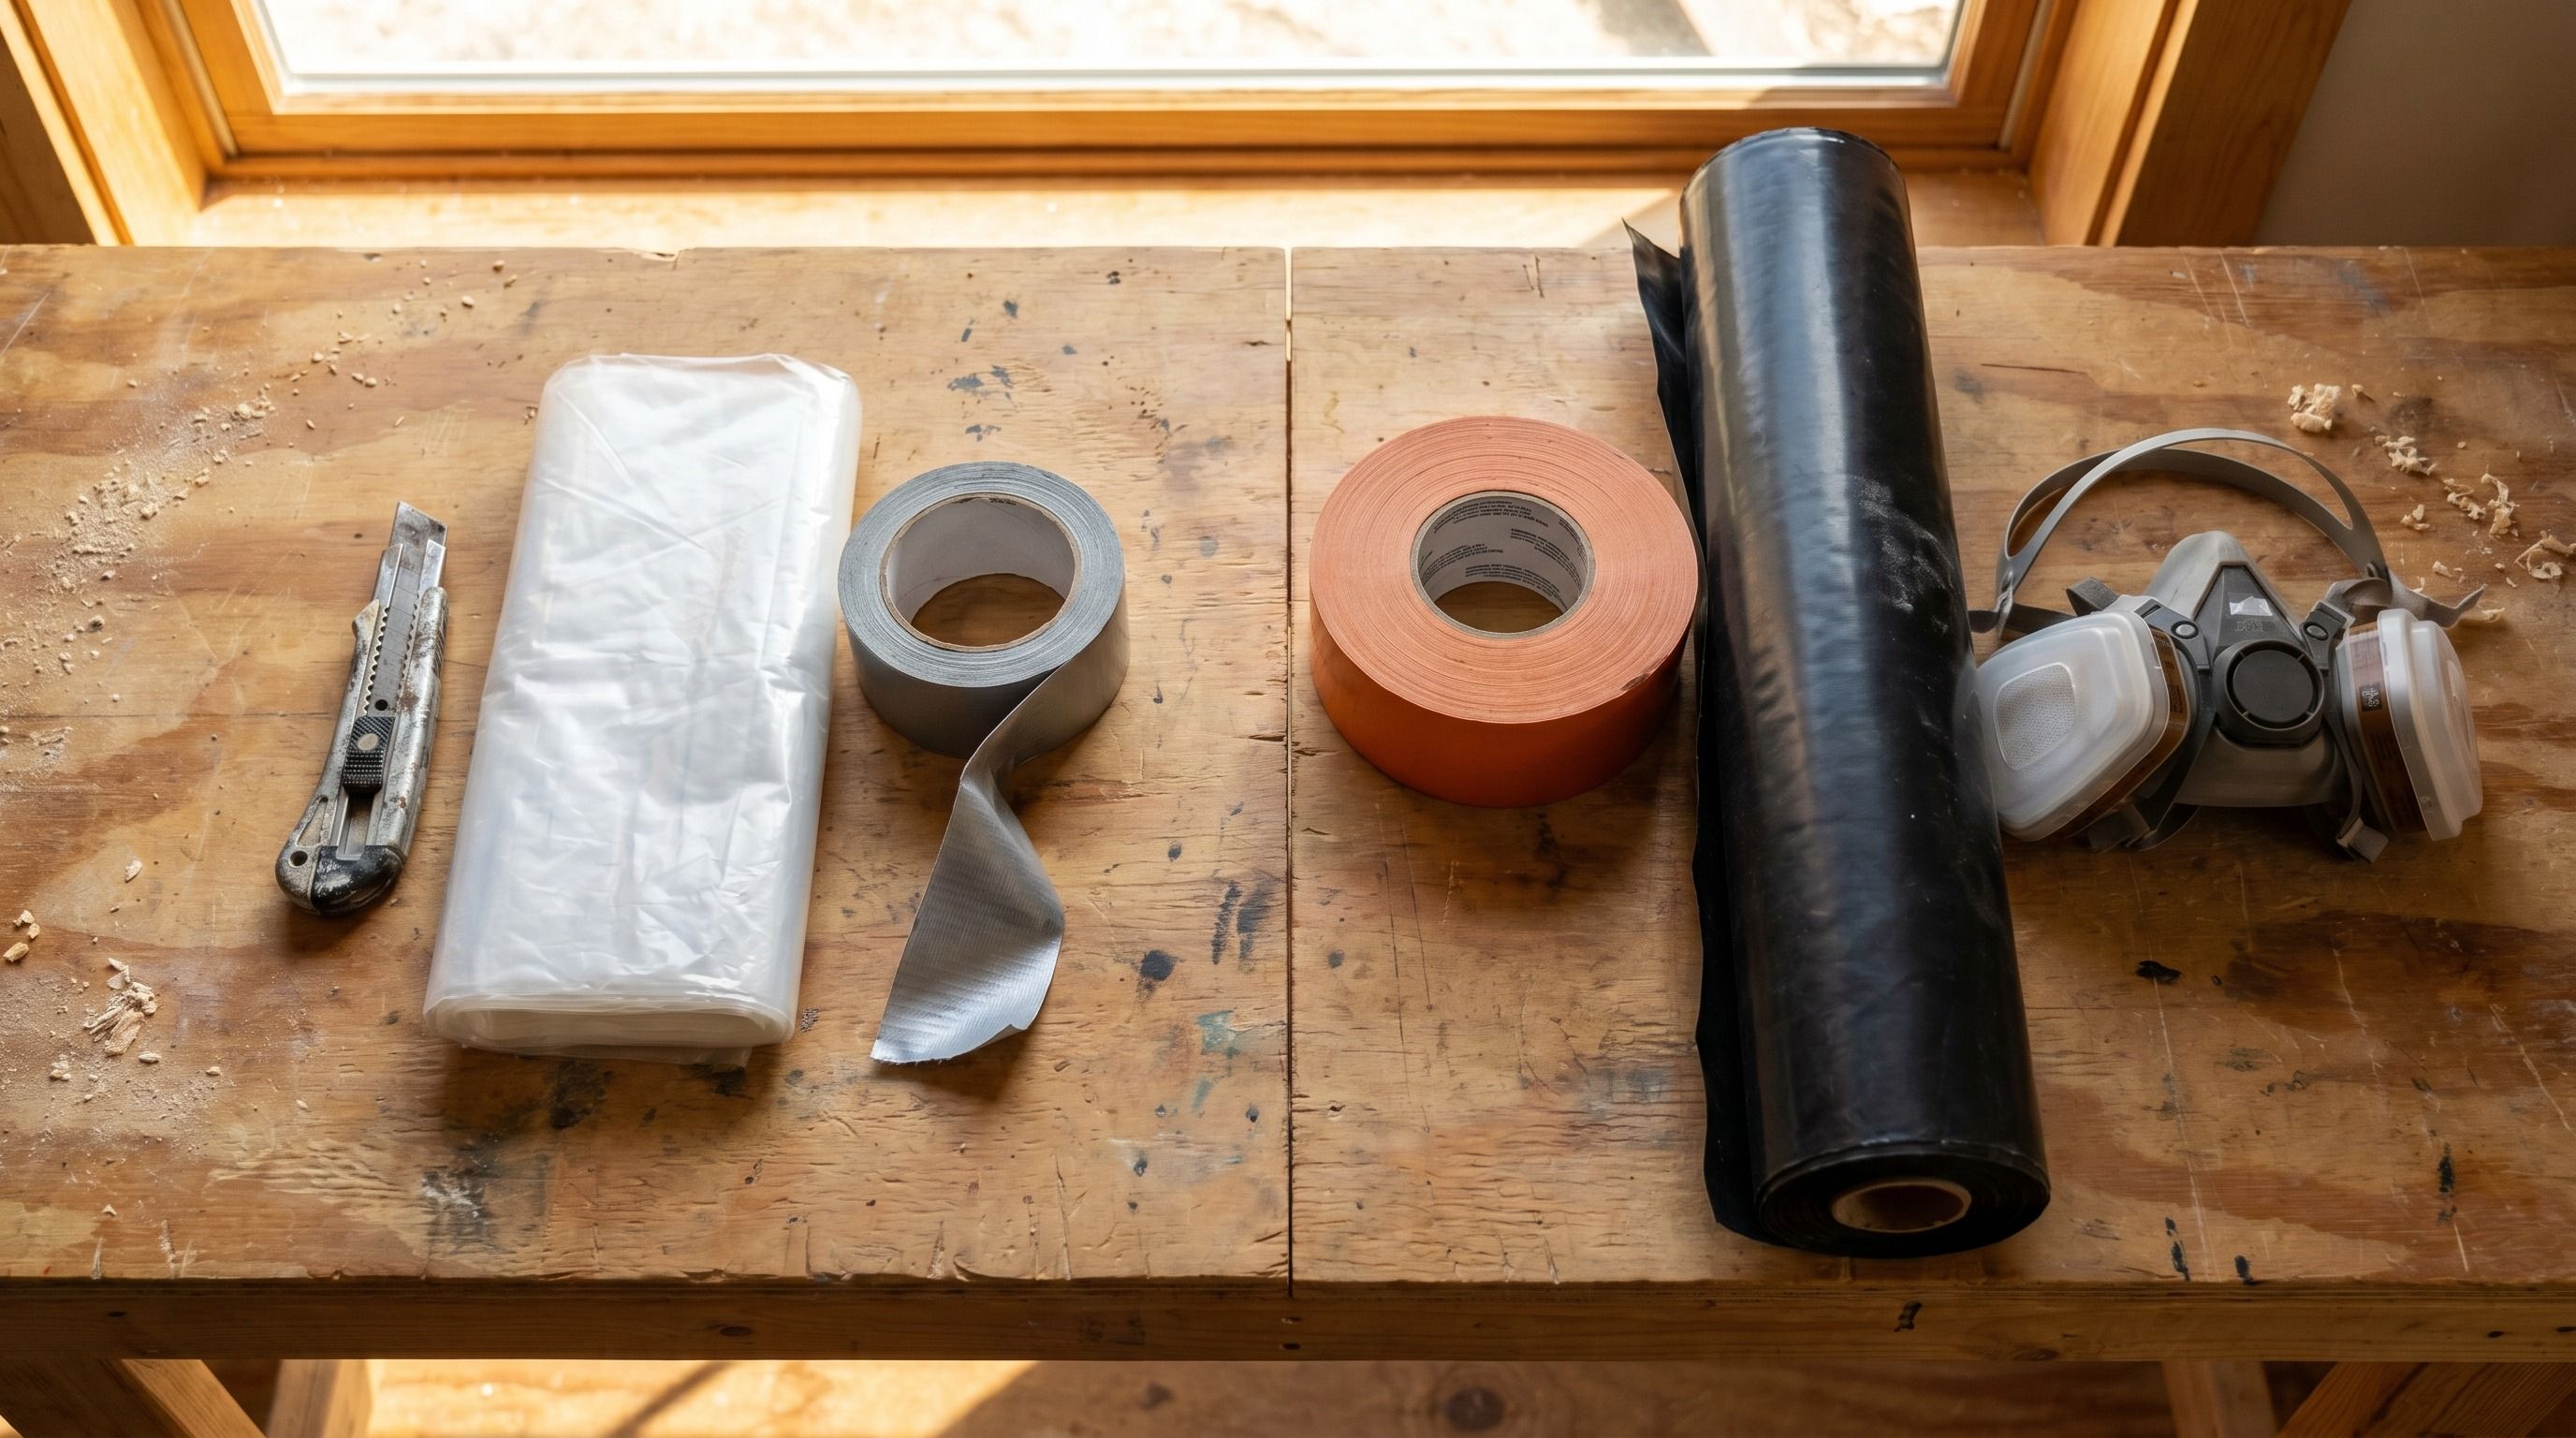
The materials for a Tennessee DIY encapsulation aren’t cheap:
For a 1,800 square foot crawl space:
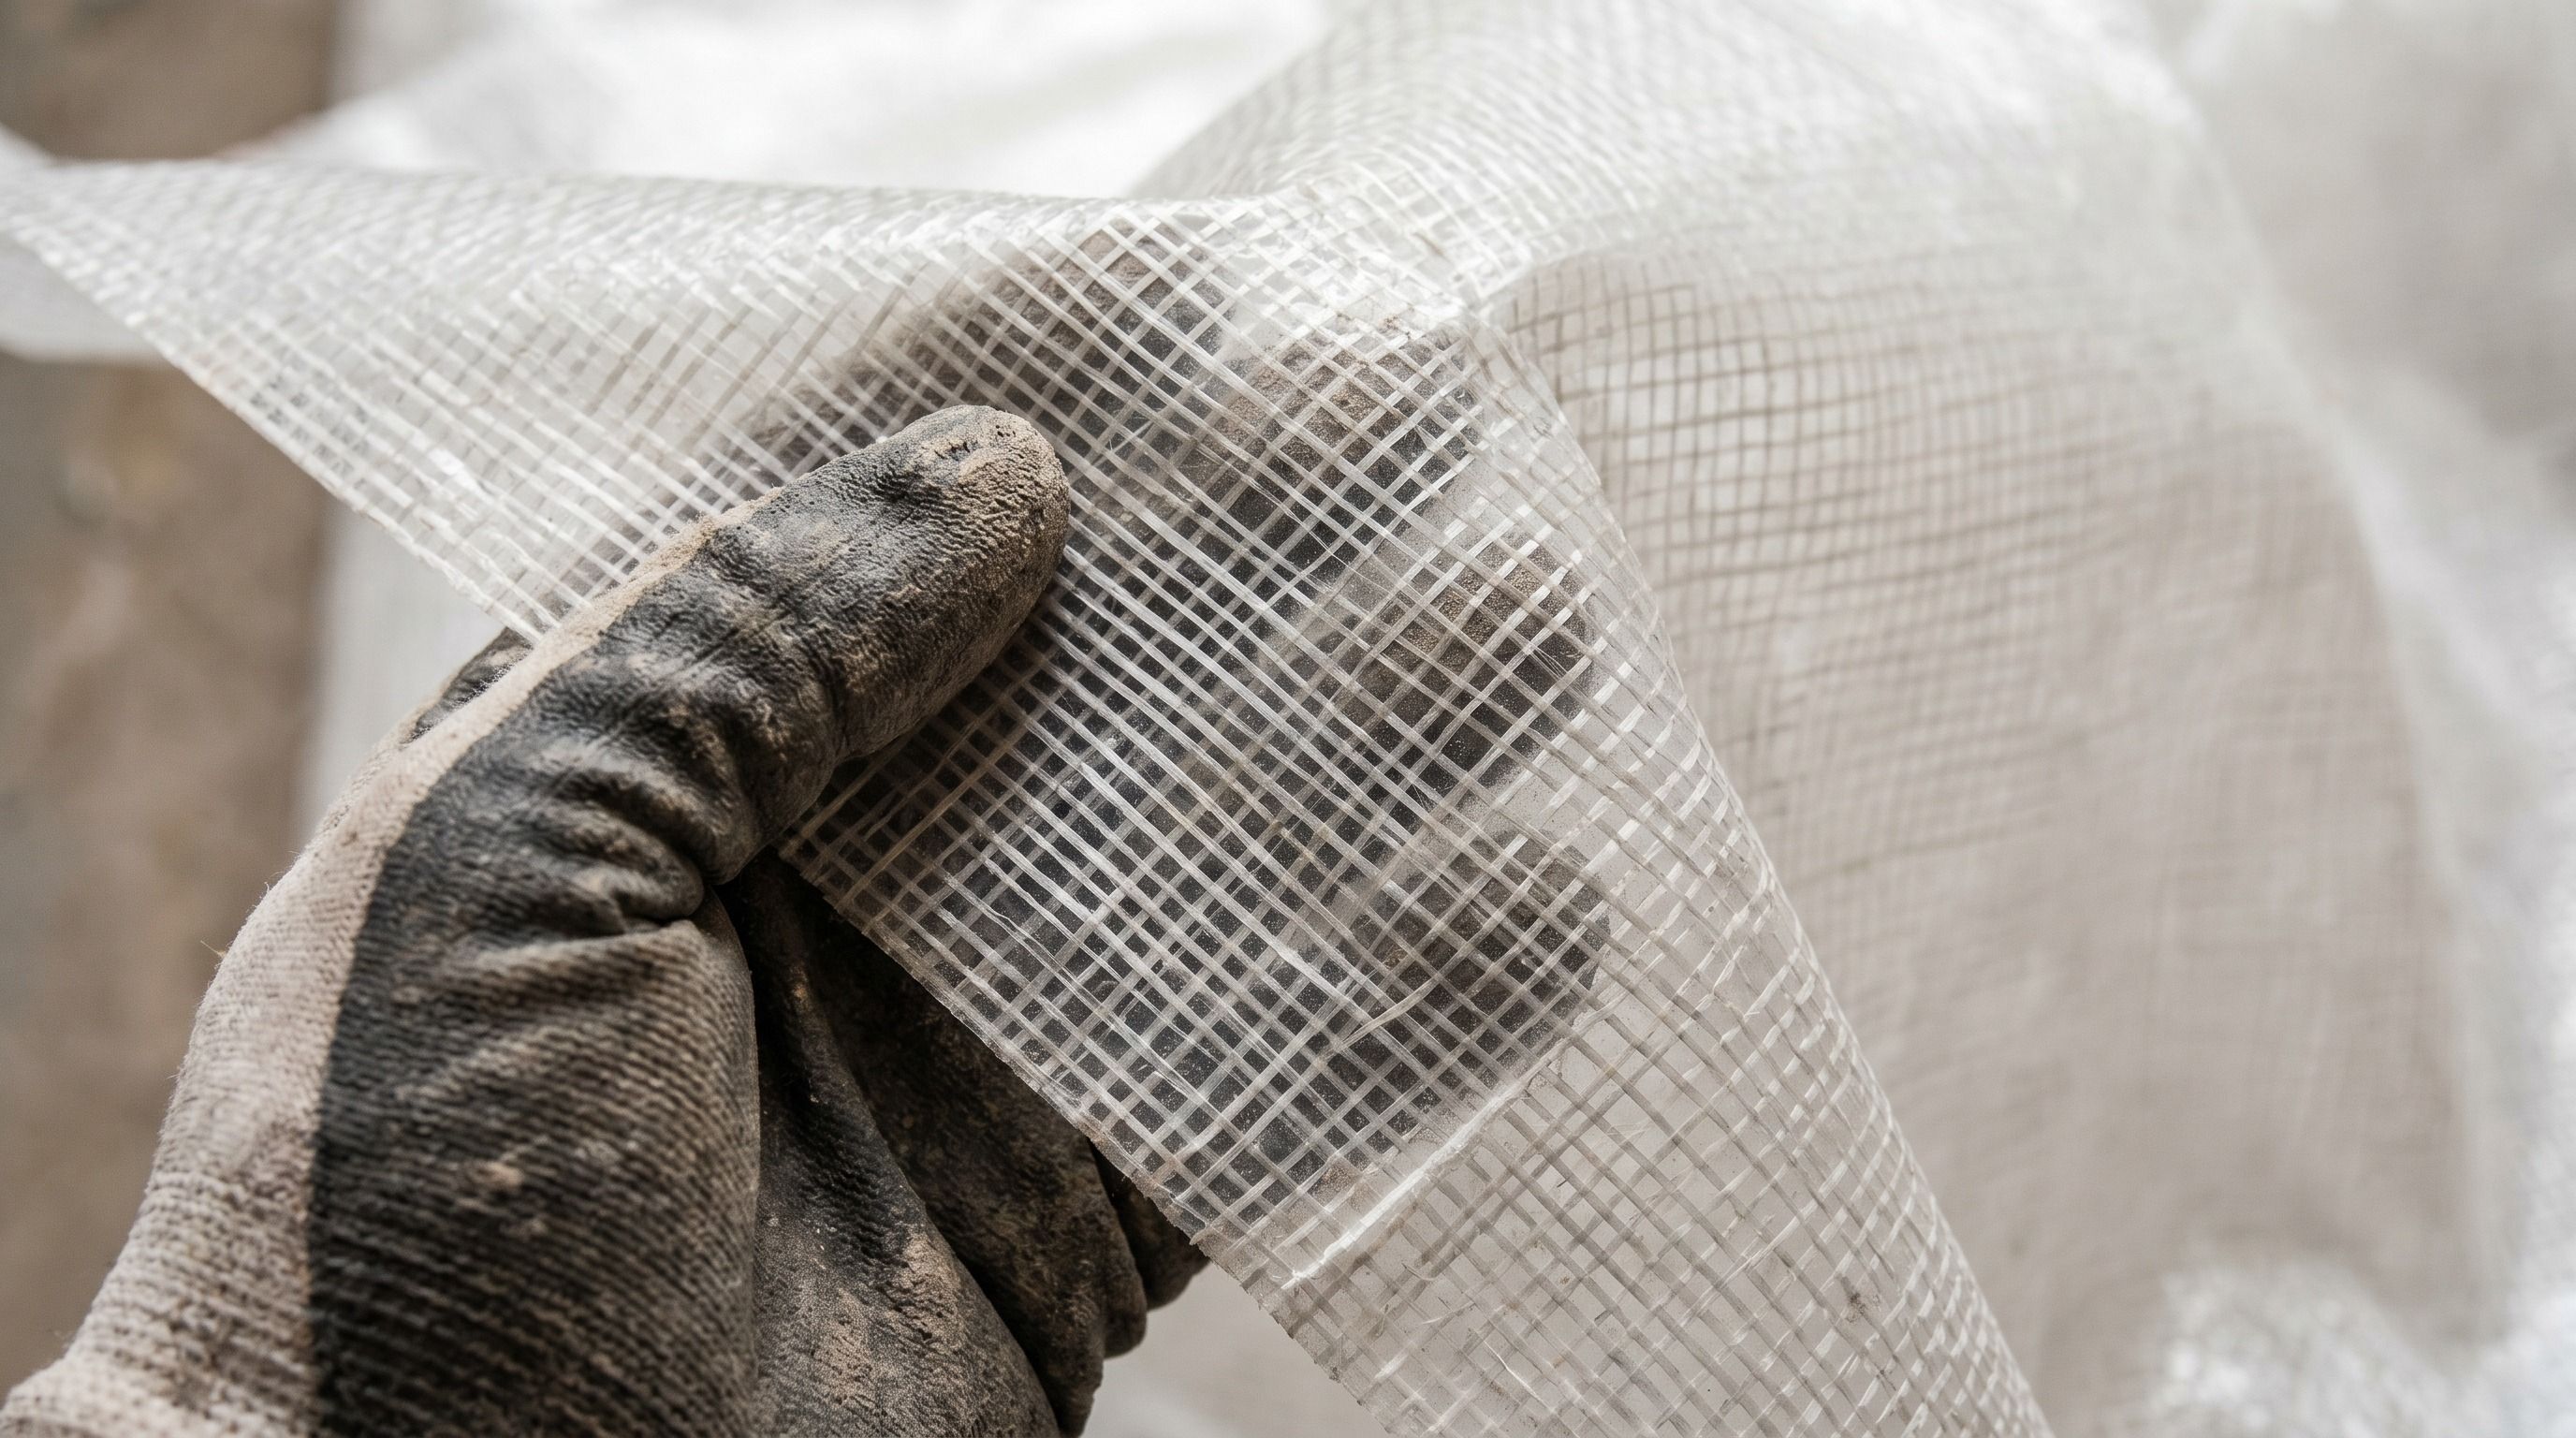
- 20 mil reinforced vapor barrier (3,000 sq ft for floor + walls): $1,800 to $2,400
- Commercial seam tape (10 rolls): $250 to $400
- Termination strips and concrete anchors: $200 to $400
- Butyl tape for penetrations: $100 to $150
- Insulated foundation vent covers (4 to 6 covers): $200 to $400
- Sealed access door: $300 to $600
- Commercial dehumidifier (70 to 90 pint, properly rated): $1,200 to $2,000
- Dehumidifier drainage and electrical materials: $150 to $300
- Sump pump system if needed: $500 to $800 (DIY-grade)
- Foam board wall insulation if added: $600 to $1,200
- Disposable Tyvek suits, respirator cartridges, gloves, work lights: $200 to $400
Total DIY material cost: $5,000 to $9,000 depending on inclusions
Compare to a professional encapsulation at $7,500 to $10,500 for the same scope. The professional install often includes premium materials (better warranty barriers, commercial-grade dehumidifiers with 5+ year warranties) and the labor. The DIY savings, before counting labor time, is typically only $2,000 to $3,000.
Time investment
A professional crew of 2 to 3 people completes a typical Tennessee encapsulation in 2 to 4 days. A homeowner working solo, weekends only, looking at:
- Cleanout and prep: 12 to 20 hours
- Mold remediation if needed: 8 to 16 hours (and frankly should not be DIY)
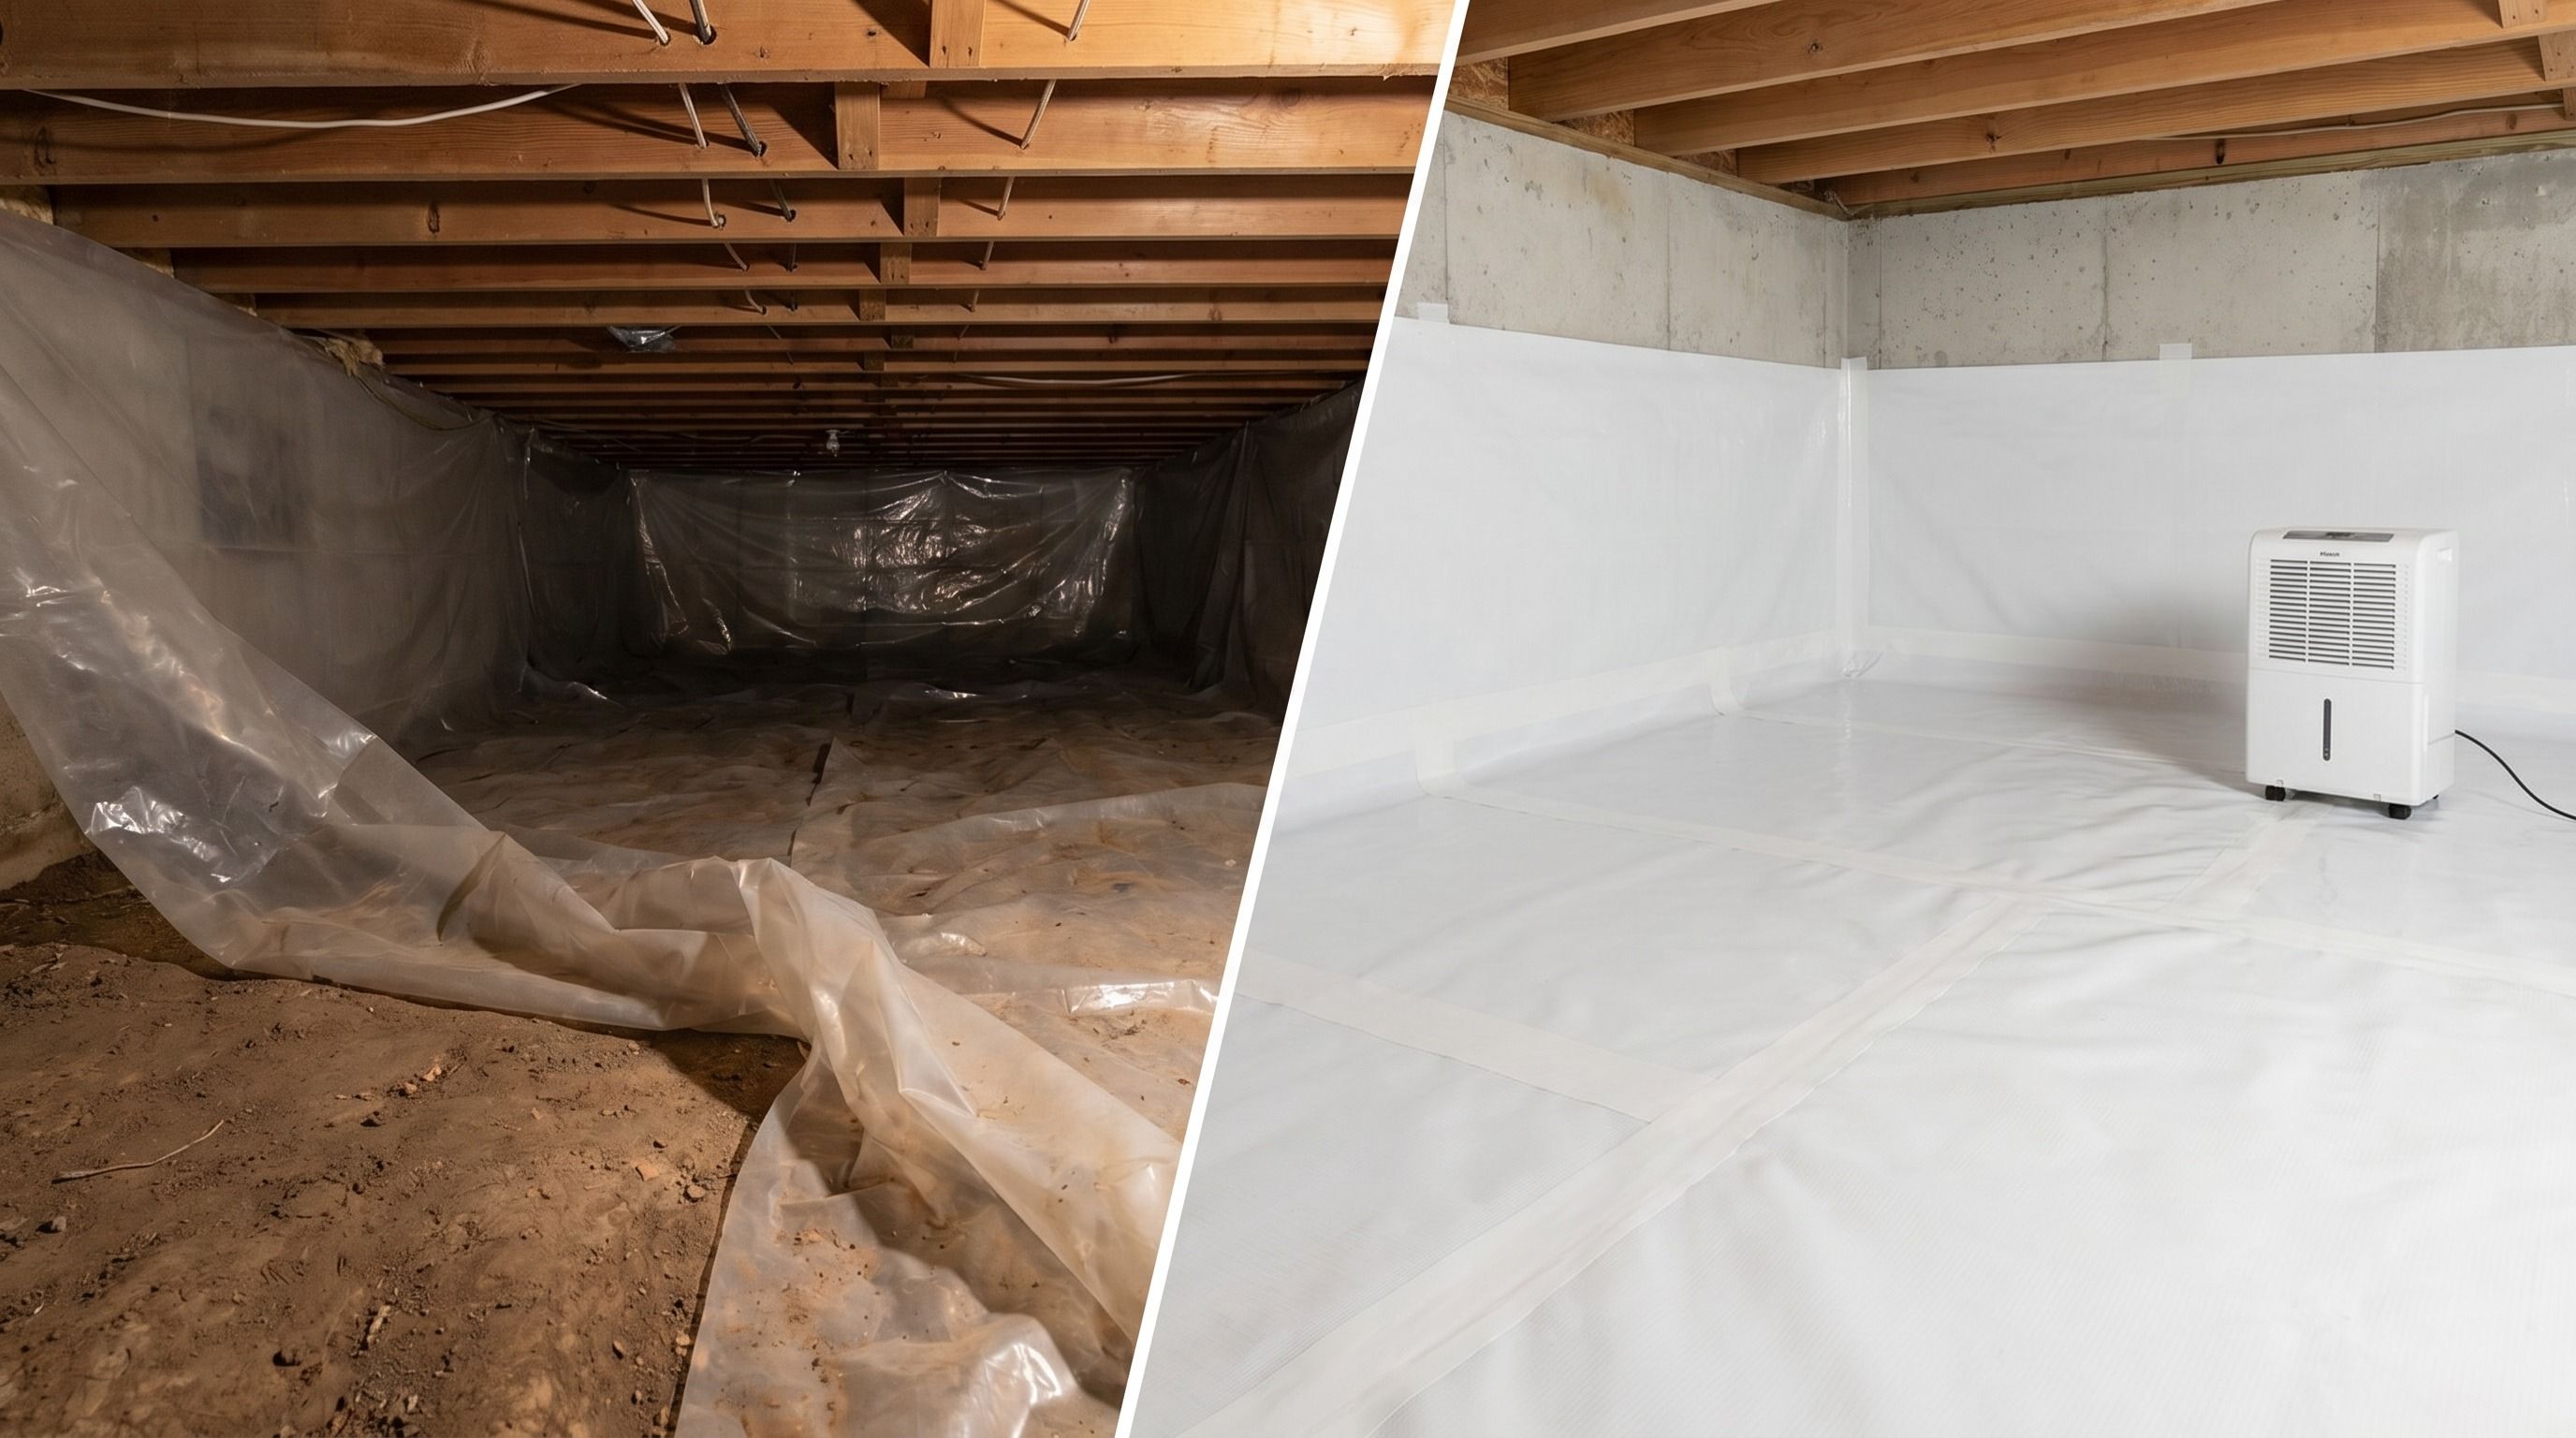
- Vapor barrier install: 16 to 32 hours
- Sealing and taping: 6 to 12 hours
- Dehumidifier install: 4 to 8 hours
- Foundation vent sealing: 3 to 5 hours
- Cleanup and verification: 4 to 8 hours
Total DIY time: 50 to 100 hours typically over 6 to 12 weekends
At a notional $30 per hour valuation of weekend time, that’s $1,500 to $3,000 of “labor cost” you’re not paying yourself for. The material savings vanish.
What DIYers consistently get wrong
The reason most DIY encapsulations fail to perform like professional installs comes down to a handful of specific things:
1. Wall attachment
The vapor barrier on the walls has to be mechanically fastened with termination strips and concrete anchors. Adhesive alone doesn’t hold over the long term in humid conditions. DIYers consistently use less attachment than required and the wall barrier slowly separates over months.
2. Seam sealing technique
Commercial seam tape only works when applied to clean, dry, and properly overlapped barrier surfaces. DIYers often tape over dust, apply tape with insufficient pressure, or use undersized overlap. The seams fail within 2 to 3 years.
3. Dehumidifier sizing
Sizing a dehumidifier requires understanding cubic footage, current humidity load, and infiltration rates. Most DIYers buy a 50 or 70 pint unit because it’s at the home improvement store, when the crawl space actually needs a 90 to 130 pint commercial unit. Undersized units run continuously, fail early, and don’t actually control humidity.
4. Sealing all penetrations
Every plumbing pipe, electrical conduit, support post, and HVAC duct that enters the crawl space is a penetration that must be sealed. DIYers commonly miss 30 to 40 percent of penetrations. Each missed seal becomes a moisture entry point.
5. Foundation vent sealing
The vents that were the original moisture-entry path need to be properly sealed with insulated covers, not just plastic-sheeted over. DIYers often plastic-sheet from inside, which doesn’t address weather sealing from outside and doesn’t address the thermal bridge.
6. Verification
Professional installs include a 24 to 72 hour follow-up to verify humidity is below 60% and trending stable. DIYers rarely test rigorously. The DIY install “looks done” but isn’t actually performing.
When DIY makes sense
There are legitimate cases for DIY crawl space work:
Case 1: Small crawl space, simple conditions, dry climate sub-area
If you have a 600 to 900 square foot crawl space, a relatively dry foundation, no mold, no water issues, and you’re handy — DIY is reasonable. The scope is small enough that the consequences of an imperfect install are smaller too.
Case 2: Partial scope — just adding a dehumidifier
If your crawl space already has a functional vapor barrier and you’re adding a dehumidifier to upgrade an incomplete system, DIY dehumidifier purchase and install is reasonable. Buy a commercial 70+ pint unit (not a consumer-grade), wire it through a dedicated circuit (have an electrician do this), set the humidistat to 55%, route the condensate drain, done.
Case 3: Pre-encapsulation cleanout only
You can save real money by doing the cleanout phase yourself before a professional crew does the install. Remove old insulation, bag debris, haul out. A contractor will often discount $500 to $1,500 from the project price if the crawl space is already cleaned out when they arrive. This is the highest-leverage DIY play.
When DIY is the wrong choice
Honestly:
- Significant mold: Hire certified remediation. Wrong DIY approach exposes you to spore concentrations that affect your health.
- Standing water or active leaks: Hire a contractor to diagnose the water source before barriers go down.
- Tight crawl spaces under 30 inches deep: The physical work is brutal and slow. Professional crews specialize in tight conditions.
- Wall insulation work: Requires precision cutting and code-compliant R-value. Get it wrong and it’s a thermal bridge that defeats the encapsulation.
- Any electrical work: Hire a licensed electrician for the dehumidifier circuit. Tennessee code requires it for any new circuit pull.
The hybrid approach
The smart middle ground: DIY the cleanout and prep, professional install the rest.
Workflow:
- Spend 1 to 2 weekends pulling out old insulation, debris, and any failed previous vapor barrier
- Get a free professional inspection — the contractor sees a clean crawl space and can quote accurately
- Negotiate the cleanout discount ($500 to $1,500)
- Let the professionals do the technical install (vapor barrier, dehumidifier, sealing, verification)
This typically saves $1,000 to $2,000 on a $9,000 project without compromising any of the precision-critical install steps.
What a DIY-attempted-then-redone project costs
The worst-case scenario plays out this way for some Tennessee homeowners:
- DIY install completed over several months. Total spend: $6,000 in materials, 80 hours of labor.
- Six months later, humidity is still 70%+. Mold reappears.
- Professional contractor called to diagnose. The DIY barrier has seam failures, the dehumidifier is undersized, and the foundation vents weren’t sealed properly.
- Professional rework: $8,500. They mostly remove the DIY materials and start over.
Total spent: $14,500 plus 80 hours of weekend labor, for a result that cost $8,500 if done right the first time.
This pattern is common enough that the established Tennessee contractors have “DIY recovery” as a category of work they do.
The honest recommendation
For most Tennessee homeowners with full encapsulation needs, the professional install is the right call. The savings from DIY are smaller than they appear, the technical pitfalls are real, and the consequences of subtle install errors compound over years.
If you’re handy and want to do something, DIY the cleanout phase and let professionals handle the install. You save real money on the project total and avoid the technical risks.
If you’d like a free professional inspection — including a written assessment of your crawl space conditions whether or not you proceed with the contractor — submit a request through the form on this page.
Related on this site
Tennessee metros