· By Brandon Boyd
Crawl Space Encapsulation Before and After — What Actually Changes
The real before-and-after of a Tennessee crawl space encapsulation: humidity numbers, energy bills, indoor air quality, and what the space actually looks like. With specifics from typical projects.
“Before and after” photos of crawl space encapsulation are dramatic — dark, dirty, moldy space transformed into a bright white sealed environment. The visual change is real. But the changes a Tennessee homeowner actually experiences happen in five other places: humidity, energy bills, smell, comfort, and resale value. Here’s the full picture.
The visual change
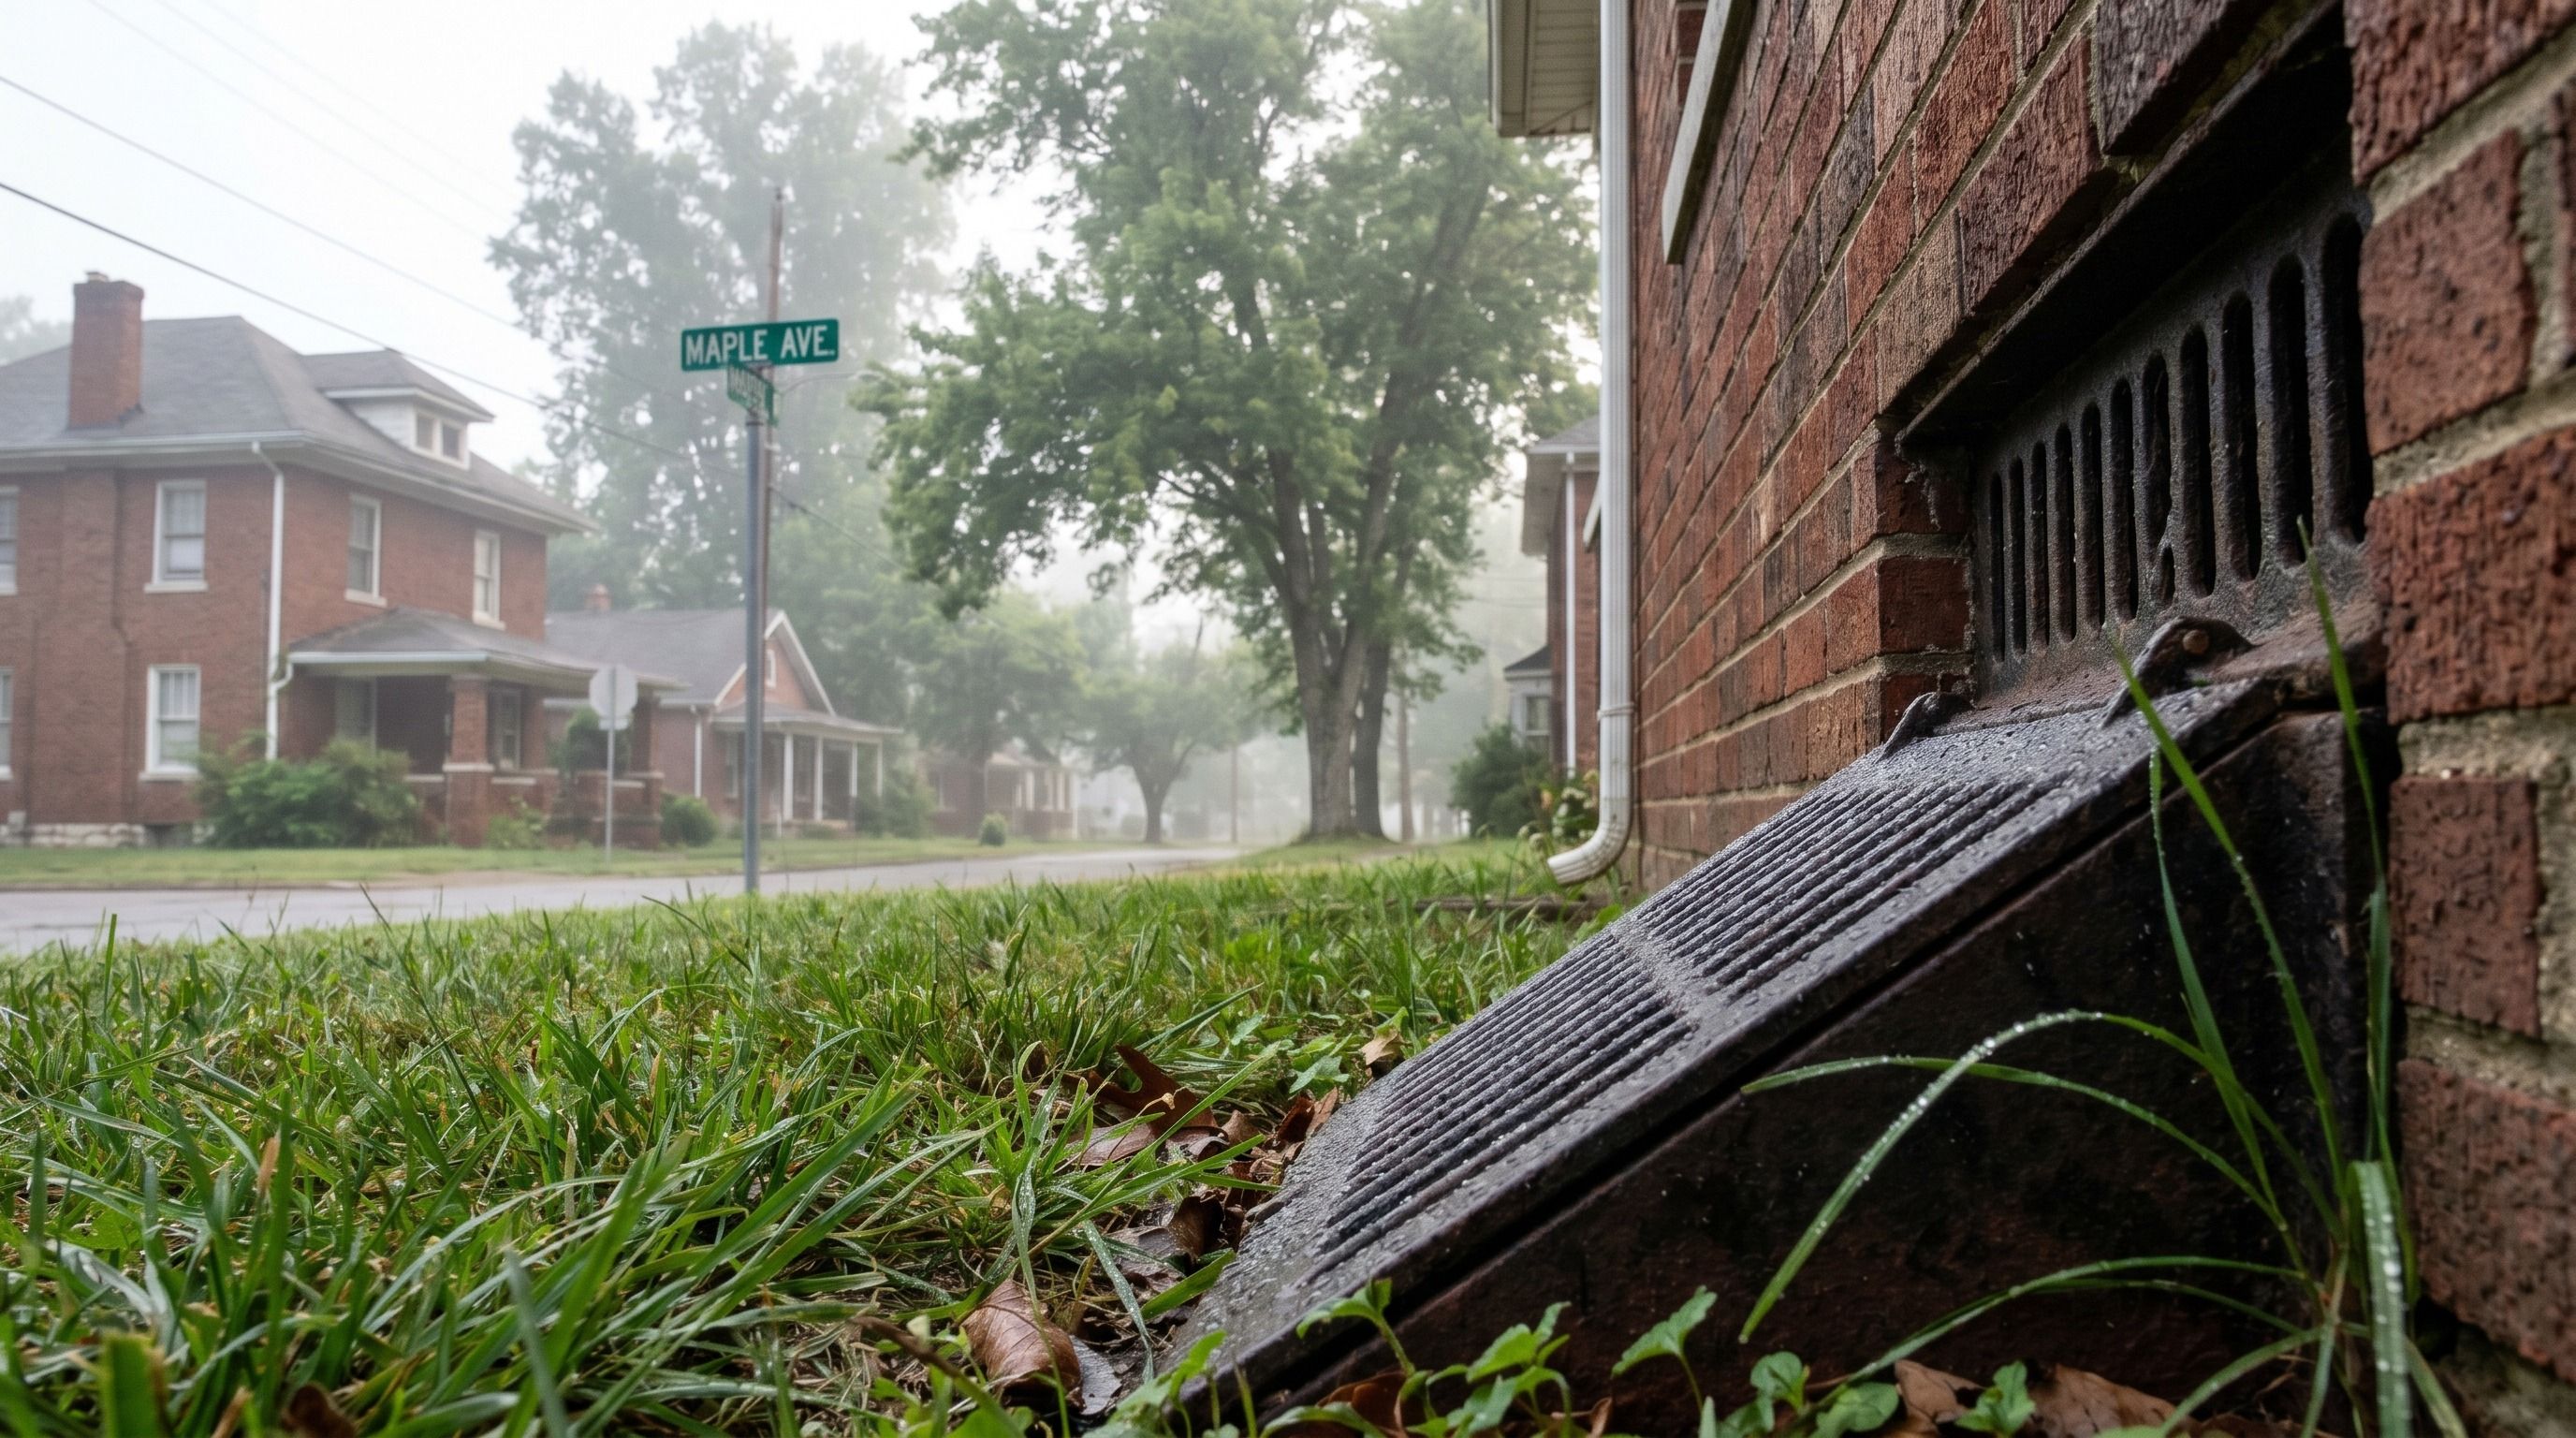
Before: Dirt floor, sagging yellowed fiberglass insulation hanging between joists, mold patches on wood, dust everywhere, debris from previous contractors, exposed open foundation vents letting in light and bugs, no real lighting.
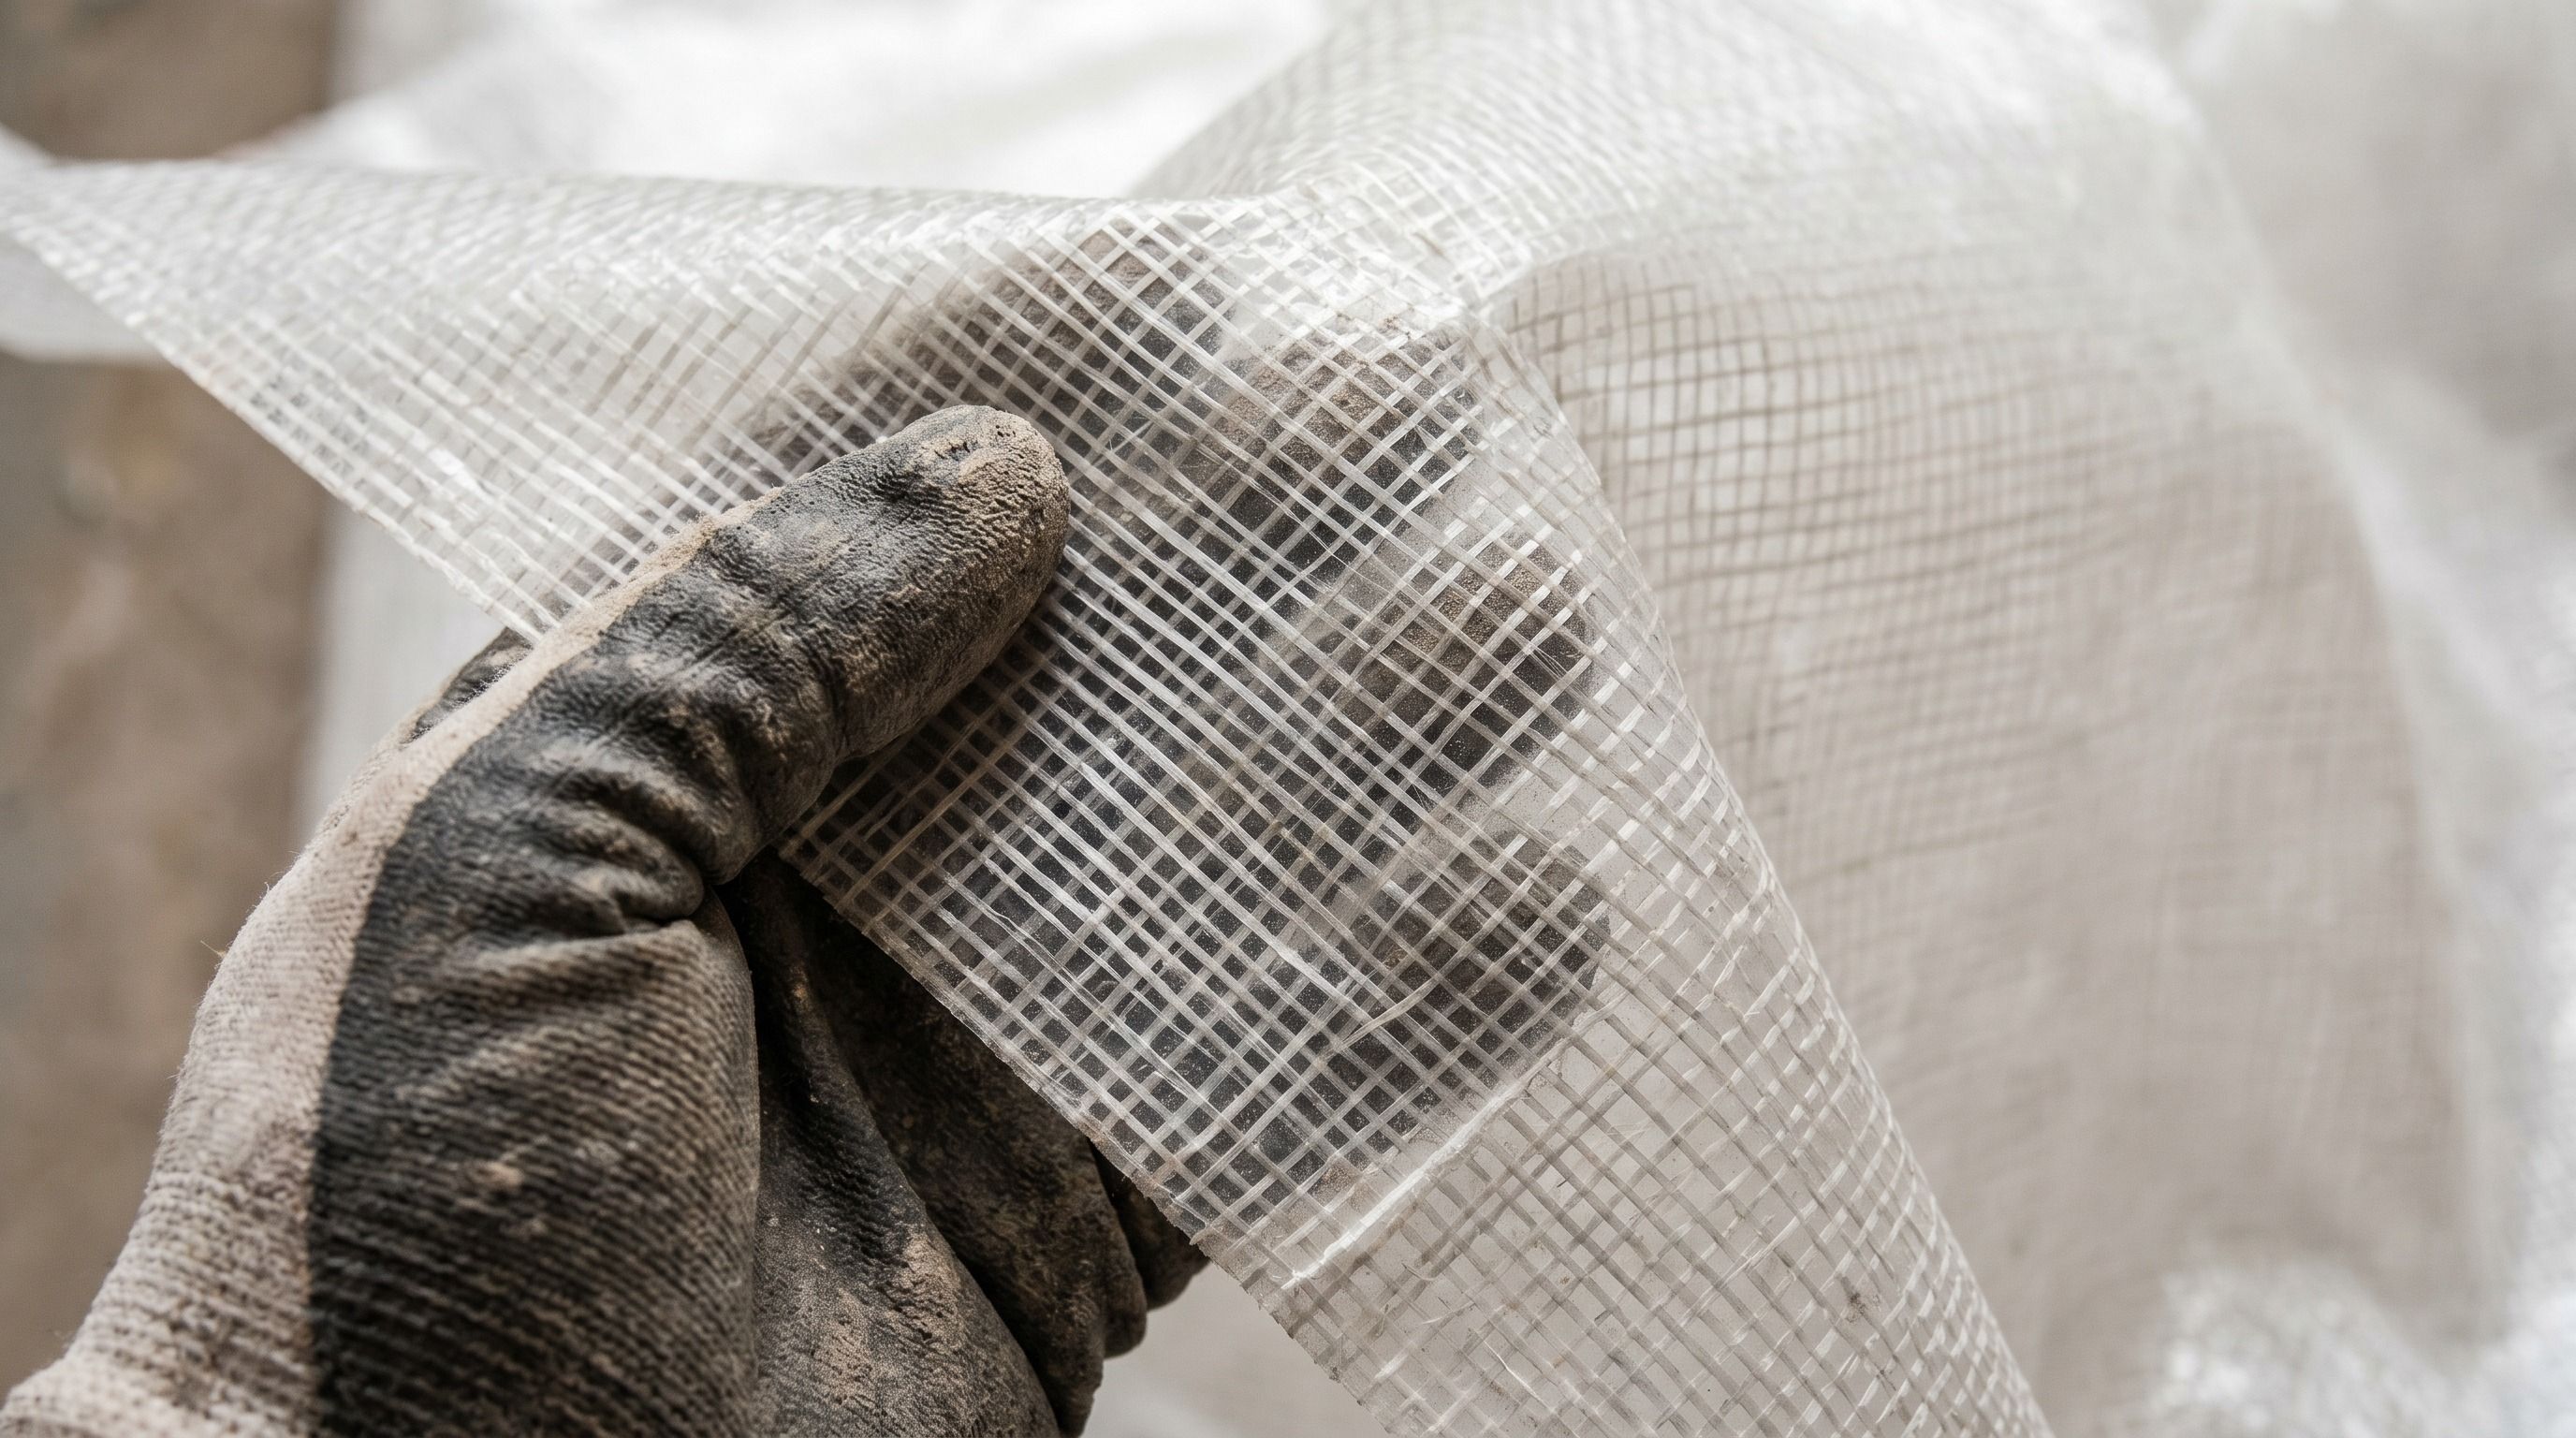
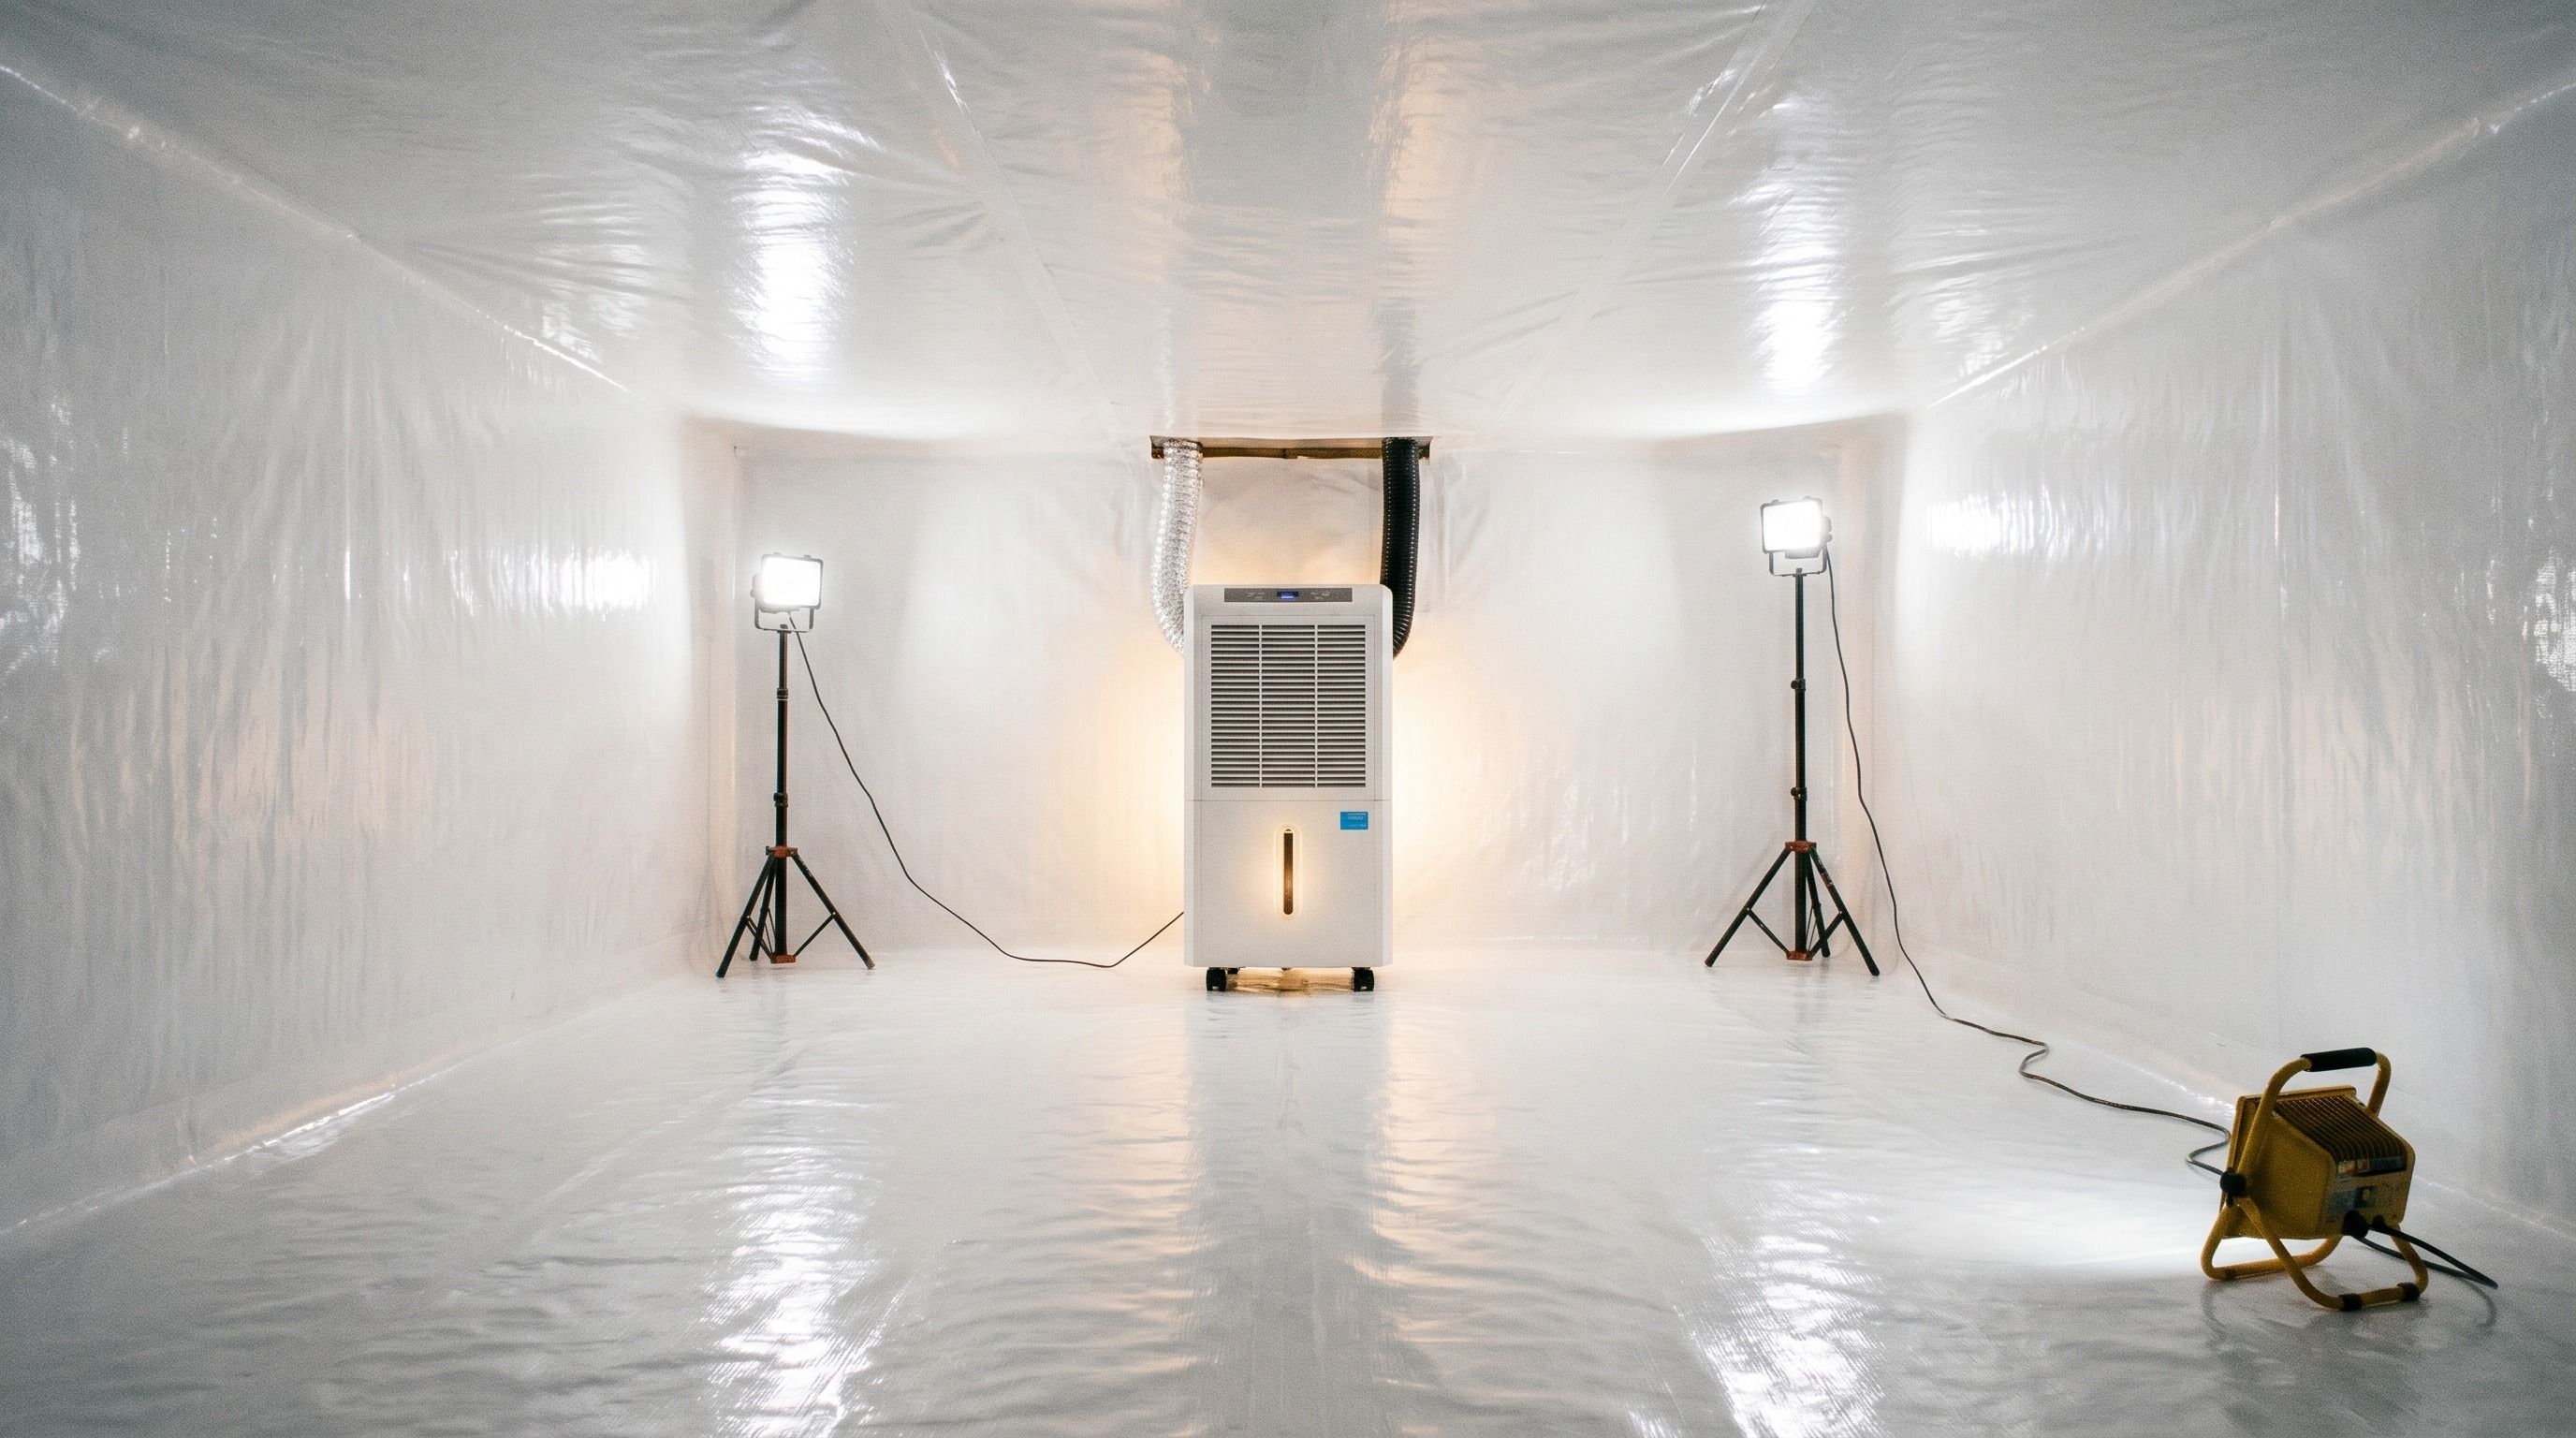
After: Bright white reinforced vapor barrier covering every floor and wall surface. Sealed crisp seams. Closed foundation vents. A commercial dehumidifier glowing with a green status light. New LED work lighting. The space looks like the inside of an industrial building.
The first time a homeowner opens the access door after install, the reaction is consistent: “I had no idea it could look like this.” Many homeowners use the encapsulated space for storage afterward (which the encapsulation supports).
The humidity numbers
This is the most important measurable change.
Before (Tennessee vented crawl space, summer):
- Crawl space humidity: 75 to 90% relative humidity
- Wood moisture content: 18 to 24% (mold growth range)
- Surface temperature: cool enough for daily condensation events
After (encapsulated, dehumidifier running, summer):
- Crawl space humidity: 45 to 55% relative humidity
- Wood moisture content: 10 to 13% (mold growth halted)
- Surface temperature: no condensation, even on coldest crawl space surfaces
The contractor typically returns 24 to 72 hours after install to verify the humidity has dropped below the target. The change is almost always achieved within that window.
Energy bills
The before-and-after pattern Tennessee homeowners report:
Before: HVAC running constantly in summer, struggling to keep up. Monthly summer energy bills 25 to 50% above similar neighborhood homes. Winter heating costs higher than expected.
After: HVAC cycling on a normal duty cycle. Monthly summer bills 10 to 18% lower. Floors noticeably warmer in winter, allowing thermostat to be set 1 to 2 degrees lower without comfort loss.
Concrete example from a Nashville East Nashville project:
- Pre-encapsulation summer electric bill (1,650 sq ft home, 1942 build): $280 average for July-August
- Post-encapsulation summer electric bill: $232 average for July-August
- Annual savings: roughly $480
That savings alone repays the encapsulation investment over 18 to 20 years. Combined with the other benefits (avoided rot, mold, health), the project is clearly net-positive in shorter timeframes.
The smell
The before-and-after that homeowners notice fastest:
Before: Persistent musty, slightly sweet odor on the first floor. Worse in summer. Stronger in lower bedrooms and near floor vents. Often described as “old house smell” or “basement smell.”
After: Within 72 hours of encapsulation completion, the musty smell is gone. Homeowners frequently report walking back into their home after a few days away and immediately noticing the absence of a smell they’d stopped consciously registering.
This change is sometimes the most appreciated part of the project, even though it doesn’t show up on photos.
Indoor air quality and health
The harder-to-measure but very real change:
Before: Mold spore counts in the home elevated to 2x to 10x outdoor levels (typical of homes with vented humid crawl spaces). Children with chronic allergy symptoms. Adults with persistent sinus issues.
After (typical pattern within 2 to 4 weeks): Spore counts drop to or below outdoor levels. Allergy medications reduced or discontinued. Asthma flares less frequent. Sinus infections less common.
Not every health symptom is crawl-space-driven, and not every homeowner sees dramatic improvement. But for homes with documented mold and high humidity, the air quality improvement is typically measurable.
Floor comfort and structural condition
Before:
- Hardwood floors cool in winter, warm and slightly humid in summer
- Visible cupping or buckling in flooring
- Floor squeaks from joist movement with moisture changes
- Sometimes visible sag in floor levels
After (immediate to gradual):
- Floor surface temperature stabilizes (warmer in winter, cooler in summer)
- New floor damage stops (existing cupping doesn’t reverse but doesn’t worsen)
- Joist moisture stabilizes, reducing seasonal squeaks
- Existing sag doesn’t worsen; if structural support work was done, often partially corrects
Resale value and home inspection
Before: Home inspector flags vented crawl space, high moisture, missing vapor barrier, mold presence. Sale negotiations typically result in $5,000 to $15,000 price reduction or seller-funded encapsulation.
After: Documented encapsulation with warranty paperwork. Home inspector flags it positively. Buyers pay full asking. Some buyers consider it a feature.
For Tennessee homeowners selling within 3 to 5 years of the project, the resale benefit alone often covers the encapsulation cost.
The contractor experience changes too
A practical before-and-after that doesn’t get discussed often:
Before: Every plumber, electrician, HVAC tech who has to enter your crawl space dreads it. Service charges often have a “crawl space premium” or limited service in difficult conditions.
After: Service techs prefer working in an encapsulated crawl space. Clean dry environment, good lighting, easy to move around. Some homeowners report friendlier service from contractors who appreciate the upgrade.
What doesn’t change
Honesty matters. Here’s what encapsulation will NOT do:
- Fix structural problems. If your joists are already rotted, encapsulation doesn’t replace them. That’s a separate project.
- Reverse warped flooring. Cupping and buckling that’s already happened doesn’t unwarp. Encapsulation stops the progression.
- Solve standing water without drainage. If your crawl space takes water periodically, encapsulation must include a sump system. Encapsulation alone over standing water is the wrong solution.
- Eliminate the need for any HVAC. The dehumidifier handles crawl space humidity; your home HVAC still handles living space climate.
What the actual install looks like
A typical Tennessee encapsulation project unfolds over 2 to 4 days:
Day 1: Cleanout and prep. Old insulation removed. Standing water pumped. Mold remediation if needed. Photos documented for warranty.
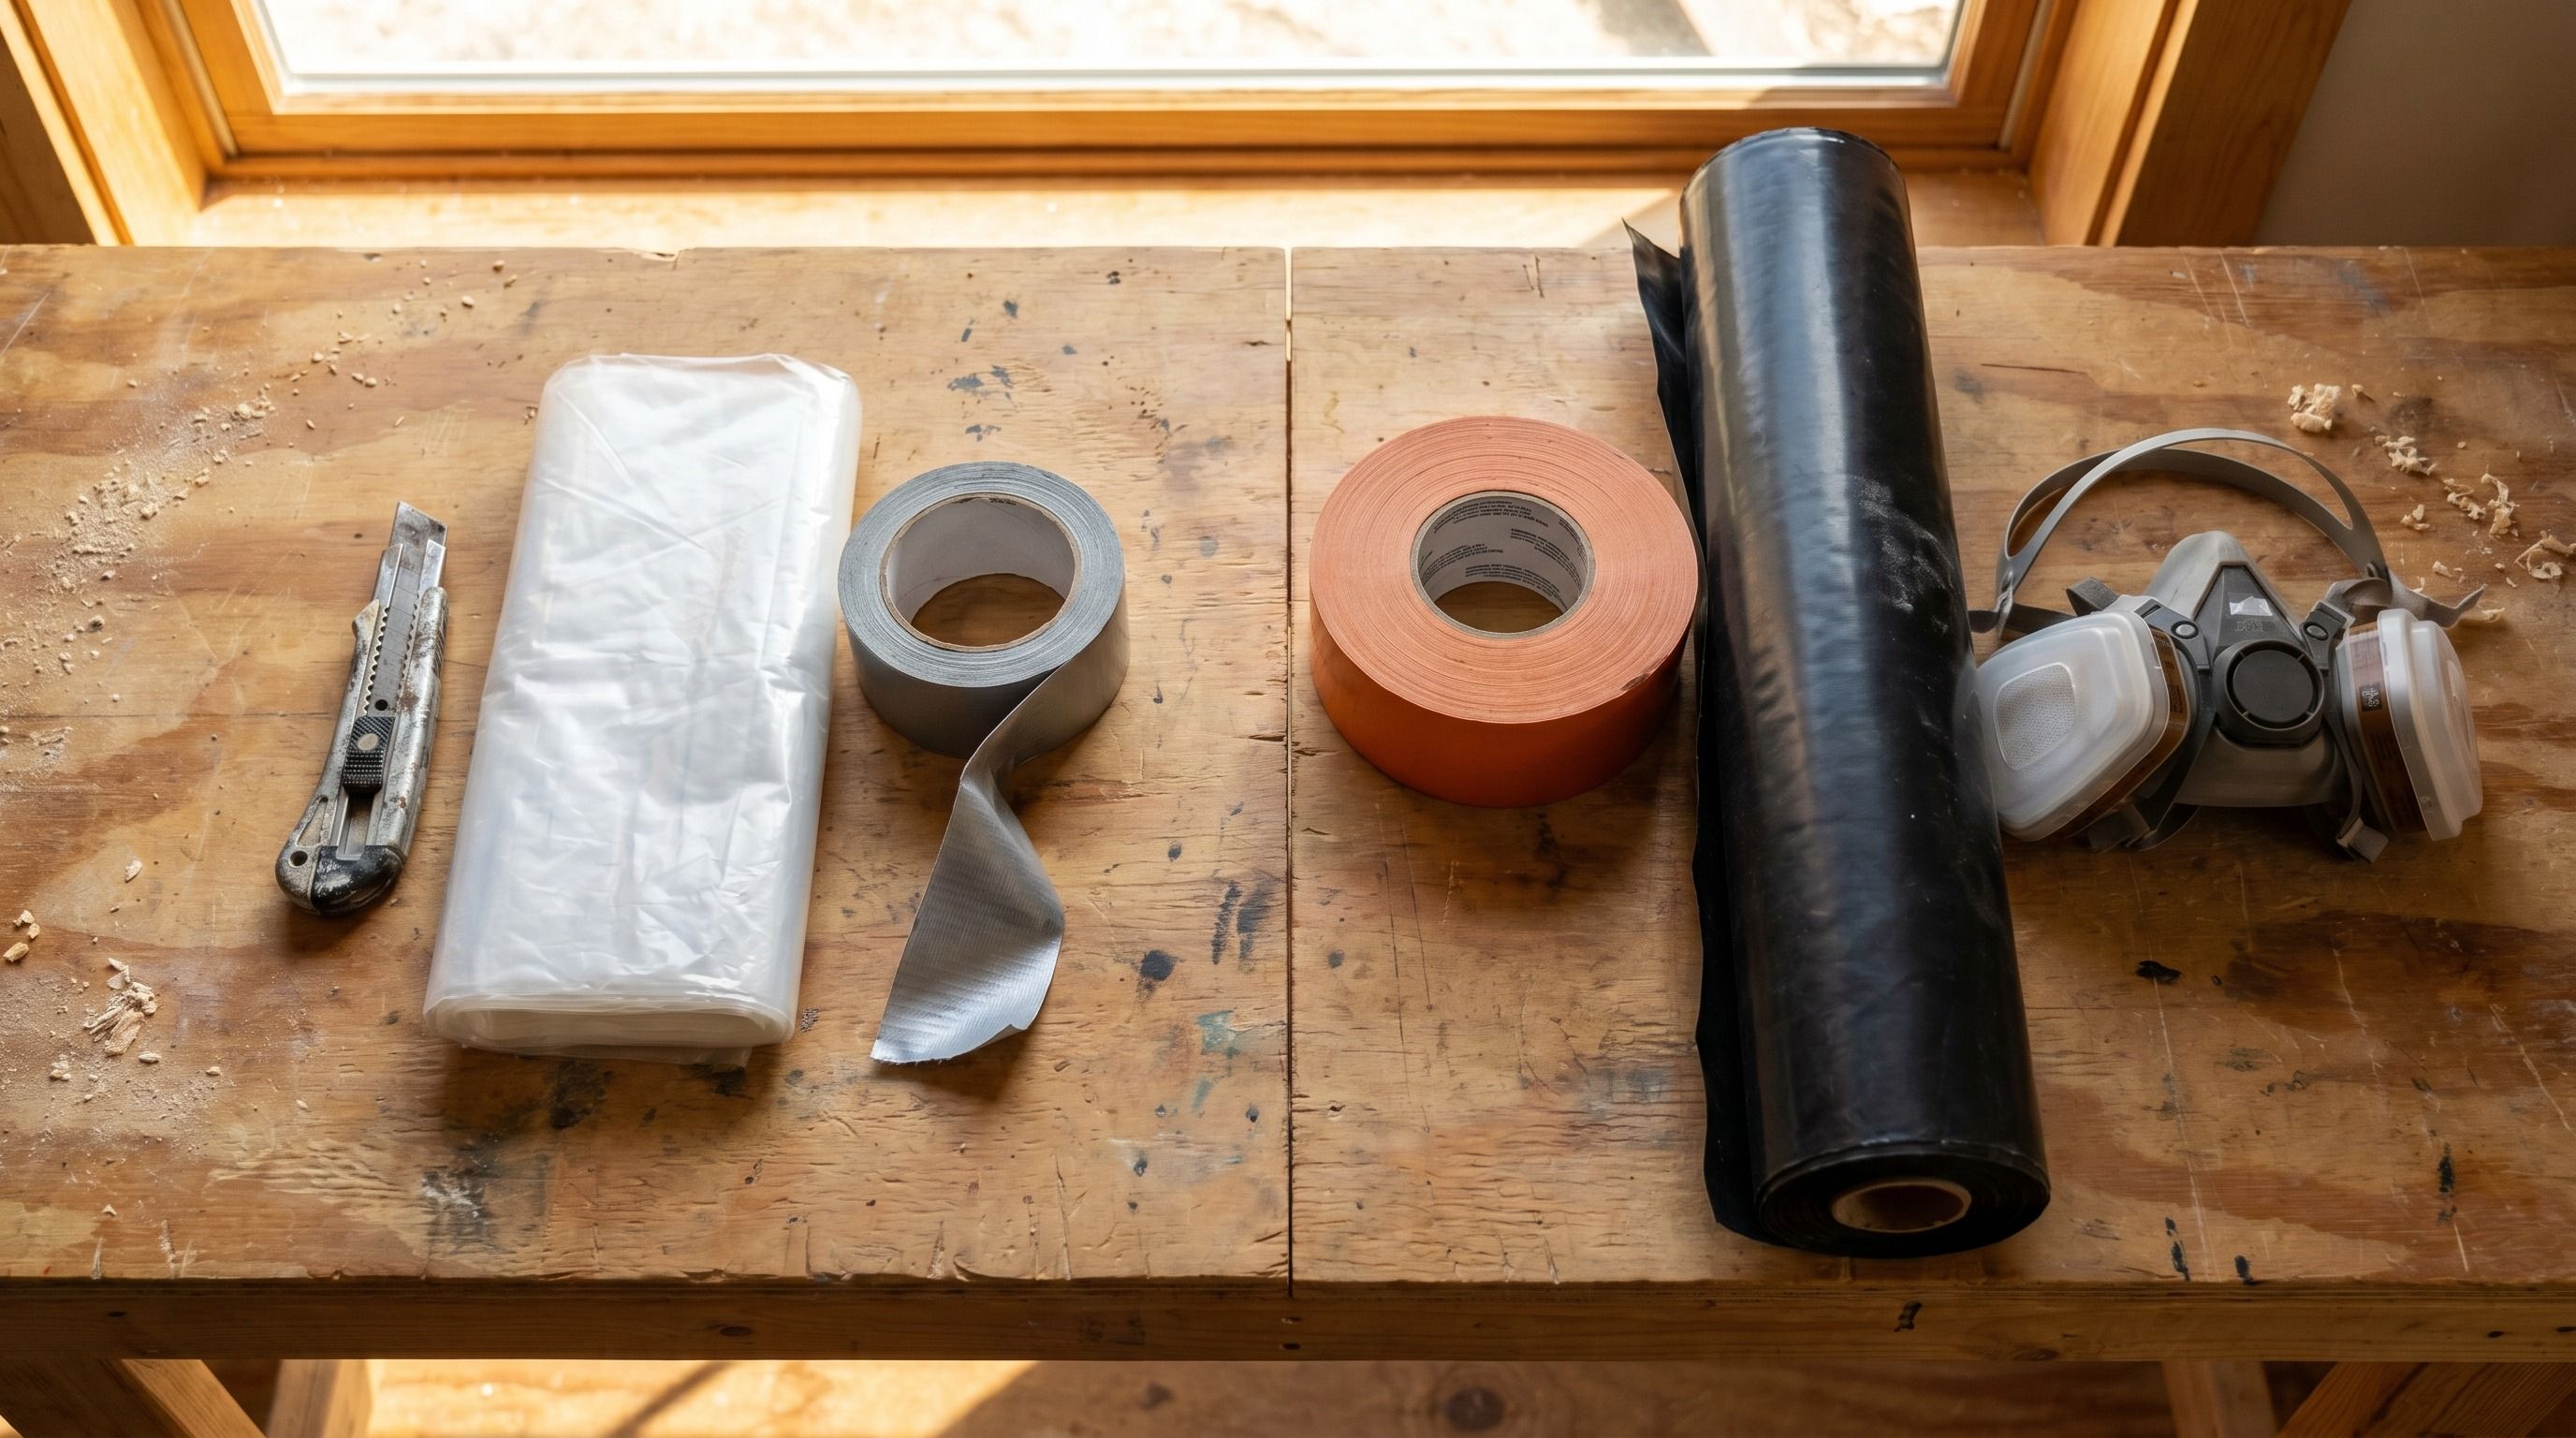
Day 2: Vapor barrier installation. Floor coverage, wall extension, seam taping, mechanical wall attachment, penetration sealing.
Day 3: Mechanical install. Foundation vents sealed. Dehumidifier installed and electrically connected. Drain line routed. Access door upgraded.
Day 4 (or 24 to 72 hours later): Verification visit. Humidity check, system inspection, walk-through with homeowner.
The homeowner is not in the crawl space at any point. The whole project is invisible from inside the home.
See for yourself
The before-and-after that matters most is the one in your own home. If you’d like a free Tennessee crawl space inspection — with current condition photos so you can see what’s happening down there — submit a request through the form on this page. The contractor will document the “before” thoroughly enough that the future “after” is genuinely impressive.
Related on this site
Services
Tennessee metros